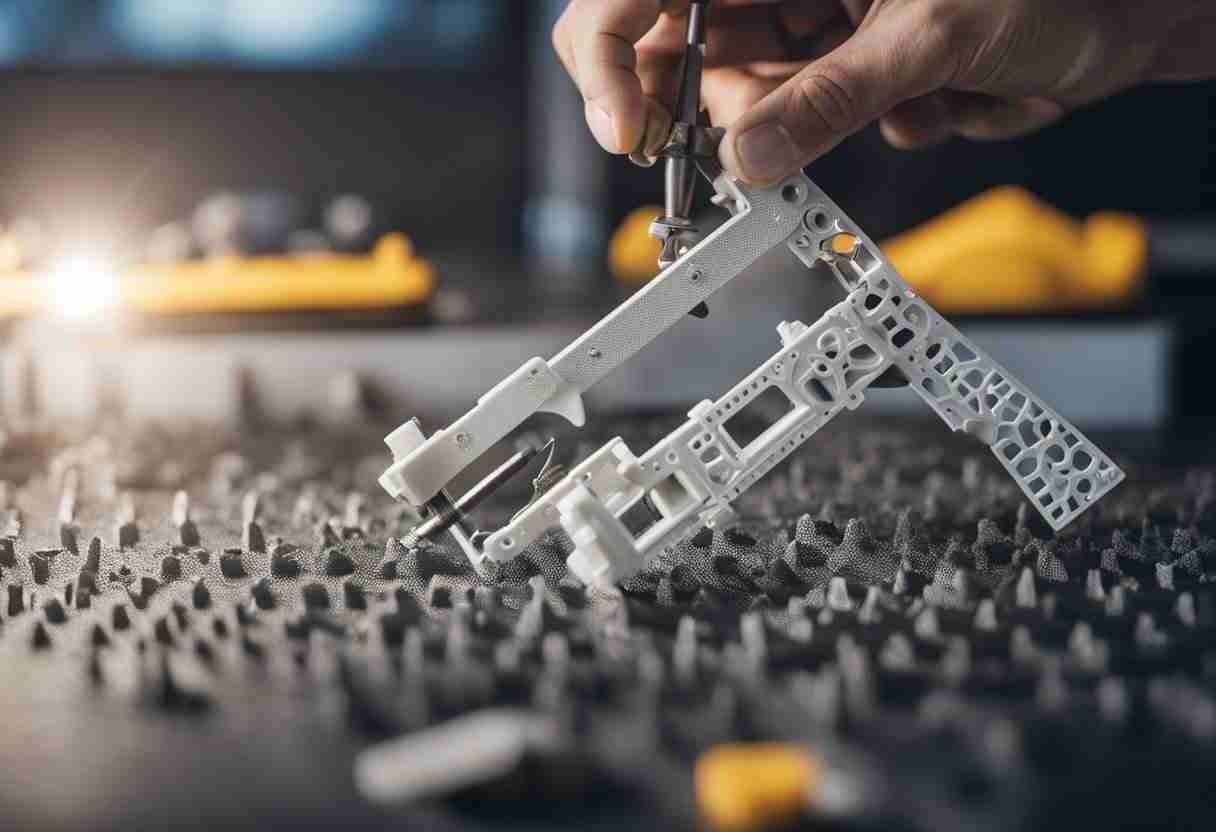
Removing supports from 3D prints is an important step in post-processing 3D printed objects. These supports are necessary during the printing process as they prevent the deformation of overhanging structures and maintain the integrity of the design. However, once printing is complete, the supports must be carefully removed to reveal the final product. The challenge lies in performing this task without damaging the detailed work.

Printing enthusiasts and professionals employ a variety of techniques to remove 3D supports. Some methods include using a craft knife to gently cut away the supports, while others may involve sanding to smooth out the areas where the supports were attached. The material of the supports, as well as that of the printed object, often dictates the best approach for removal.
Another technique involves using dissolvable supports, which can be easily removed by submerging the printed object in water or a suitable solvent. Understanding how to remove supports from 3D prints saves time and improves the quality of the finished piece. Each technique must be approached with care, patience, and the proper tools to ensure the printed object retains its desired surface finish.
Understanding 3D Print Supports
3D print supports are an integral part of the 3D printing process, providing the necessary scaffolding to intricate designs and overhanging parts of a 3D model during printing.
Types of Support Structures
Support structures include tree supports, which branch out like a tree; internal supports, meant for the model’s insides; and external supports, which bolster the model's exterior during the print. Each support type caters to specific geometrical challenges presented by the 3D model.
Purpose of Supports During Printing
During 3D printing, supports can prevent the deformation of overhangs and maintain the delicate details of the object by counteracting gravity. They're important for maintaining layer lines and providing a substrate for the printer to deposit material.
Materials for 3D Print Supports
Support materials for 3D printing may include the same filament used for the model or specialized soluble materials like PVA, which can dissolve post-printing, leaving behind smooth surfaces.
Choosing the Right Support Settings
Optimal support settings involve adjusting support density, layer height, and positioning to balance material usage and ease of removal. If supports are too dense, they may become difficult to remove; if they are too sparse, they may not properly support the printing process.
Identifying Common Challenges
Support removal can be fraught with common challenges, such as rough surfaces where the supports meet the model or potential damage to 3D prints. Careful planning and execution are necessary to overcome these hurdles.
Preparation for Support Removal

Successfully removing supports from a 3D print begins with thorough preparation. Proper tools and a safe, organized workspace are essential to ensure the best post-processing results.
Selecting Appropriate Tools
Identifying the right tools for support removal is important to avoid damaging the print. Flush cutters are ideal for snipping away large supports, while needle-nose pliers and hobby knives offer more precision for smaller, intricate areas. For tougher materials, an X-acto knife or putty knife may be required to remove stubborn support structures.
Safety Precautions and Best Practices
Taking safety precautions is non-negotiable; always wear protective eyewear to guard against flying debris. When working with sharp tools like flush cutters or hobby knives, pay careful attention to the task to prevent injury. Additionally, be mindful of potential hazards such as acetone vapors when using certain solvents during post-processing.
Setting up the Workspace
Prepare the workspace by clearing the area of any unnecessary items and ensuring that the print bed or build plate is stable and secure. The workspace should be well-ventilated, especially if chemicals or heat will be applied during the support removal process. Keep all necessary tools within reach and maintain a clean workspace to prevent print contamination.
Removing 3D Print Supports

Support structures must be removed after 3D printing an object to achieve a clean final product. This process requires precise tools and techniques to prevent damage to the object.
Step-by-Step Guide
- Allow the print to cool: Ensuring the print has completely cooled down is an essential first step. A cool structure is less prone to damage during support removal.
- Start with larger supports: Use flush wire cutters to gently snip away bigger supports. Working from the outside in is often more effective.
- Progress to finer tools: For the remaining smaller supports, switch to small files and smaller tools for precision.
Techniques for Delicate Parts
- Use a sharp object: Carefully apply a sharp craft knife with a controlled hand for delicate areas with intricate designs.
- Apply gentle pressure: Minimize the force to avoid snapping or damaging the delicate details.
Handling Tough-to-Remove Supports
- Introduce heat: For supports that are challenging to remove, a heat gun can soften the material, making it easier to peel away.
- Consider water jets: Useful for hard-to-reach areas, as they help erode the support material without physical contact.
Finishing the Surface After Support Removal
- Smooth out rough spots: Sanding may be necessary to achieve a smooth finish on the surface where supports were attached. Start with a coarser grit and work towards a finer grit for a smoother surface.
- Polish the object: For a more professional surface finish, polishing with the appropriate tools can remove residual roughness, resulting in a smooth final product.
Post-Processing Tips and Tricks
After the actual print has concluded, attention to detail in post-processing can significantly elevate the quality of the finished 3D object. Post-processing is the set of steps performed to achieve a smooth surface on a 3D-printed object. These steps also include fixing any damages that may have occurred during the removal of supports.
Achieving a Smooth Surface
Once supports are detached, parts of the print might exhibit rough patches or slight imperfections. A common technique to correct this issue is sanding, which, when performed correctly, can result in a significantly smoother finish. Start with coarse sandpaper to achieve the best result and gradually move to finer grits. Sand in a circular motion to avoid applying too much pressure on complex geometries.
For enhanced smoothness, use a combination of dry and wet sanding techniques. This method involves a gradual improvement of the surface, where sandpaper is used to remove larger imperfections and then polished using water to leave a smooth finish. The preference for dry or wet sanding can vary based on personal preference and the specific requirements of the printed part.
Repairing Any Damage from Supports
When supports have damaged the actual print, meticulous repair is necessary. Fillers should be used to address small nicks or gauges on the surface. The damaged area is repaired by applying a filler, letting it dry, and sanding it flush with the printed object.
Apply filler sparingly and allow the material to build up in thin layers rather than applying a large amount all at once. This technique saves on material and makes it easier to achieve an even surface. If the texture differs from the surrounding surface, consider applying a primer after sanding the repaired area. Then, paint the entire print to unify the appearance.
Conclusion
Removing supports from 3D prints is a crucial post-processing step requiring patience, the right tools, and appropriate techniques. By understanding the various methods available and following best practices, you can successfully remove supports, repair any damage, and achieve a high-quality finished product that meets your desired specifications.
Frequently Asked Questions
Removing support materials is a critical step in the 3D printing process. The following FAQs provide guidance on best practices and tools for effectively removing supports from various types of 3D prints.
What is the best method for removing support material from PLA 3D prints?
Gradual removal is key for PLA 3D prints. End users should carefully snap off the supports by hand or with pliers. A craft knife or deburring tool may be necessary for more stubborn areas.
What tools are recommended for 3D print support removal?
Various tools, including needle-nose pliers, flush cutters, and craft knives, can be used to remove 3D print supports. Dedicated support removal tools, as discussed at 3DPrintingWiz.com, can be very effective in this process.
How can supports be safely removed from resin-based 3D prints?
Resin prints tend to be more brittle. Therefore, it is important to use a gentle approach to avoid any damage. Tools such as tweezers and soft scalpels should be employed to carefully detach the supports without applying excessive force, which could damage the print.
Are there any techniques for easier support removal in FDM 3D printing?
Designing supports with specific break-away points can make support removal in FDM printing easier. Another approach suggested by Xometry is to print with a slight gap between the support structures and the print itself, making the supports easier to remove.
Is there a proper way to dissolve 3D print supports without damaging the print?
Soluble supports made from materials such as PVA can be dissolved by immersing the print in water. Some materials, such as HIPS, require specific solvents like d-limonene to be dissolved properly. 3D Print Mentor highlights the importance of using the correct solvent for the support material to avoid damaging the print.
What should be done with 3D printing support structures after they have been removed?
After removal, support structures should be disposed of responsibly. If the material is biodegradable, recycle where facilities exist.
