Creating STL files for 3D printing is a fundamental skill for anyone desiring to turn digital designs into physical objects. STL, an acronym for stereolithography, is the standard file format used in the additive manufacturing process. The STL file format bridges three-dimensional computer-aided design (CAD) models and the 3D printer, containing all the necessary information to print the object layer by layer. In this guide, we will walk you through the process of preparing your 3D models for printing. We'll start by choosing the right CAD software and exporting your designs in the STL file format.

Before printing a 3D object, it's important to understand how to create an STL file that accurately captures your envisioned design. This process involves choosing the right CAD software to draft your model and learning to use its functionality effectively to create a detailed representation. Once you've completed your design, the next step is converting the model into the STL file format, which is necessary for the printer to interpret your design correctly.
A good guide for 3D printing usually offers a step-by-step approach to creating and preparing STL files, including helpful tips on optimizing your models for slicing. Slicing software is key in converting STL files into G-code, the language that tells a 3D printer how to transform your digital design into a physical object. By understanding and mastering these processes, you'll be able to produce high-quality 3D prints from your STL files.
Understanding STL and 3D Printing Basics

This section offers an introduction to the STL file format, its critical role in 3D printing, and the variety of CAD software options available for creating STL files.
Overview of STL Format
STL, which stands for Standard Tessellation Language or Standard Triangle Language, is the most common file format used in additive manufacturing. STL files represent 3D objects using a series of triangular facets, simplifying the complex geometries of 3D designs into a format that 3D printers can interpret and reproduce.
Importance of STL in 3D Printing
STL files are the bridge between your digital designs and the physical world of 3D printing. Their format translates the design into a language that printing technology can understand, controlling how the printer layers material to build the object. Whether using a desktop 3D printer or a professional-grade machine, the STL format ensures compatibility and consistency across different printing technologies.
Different CAD Software Options
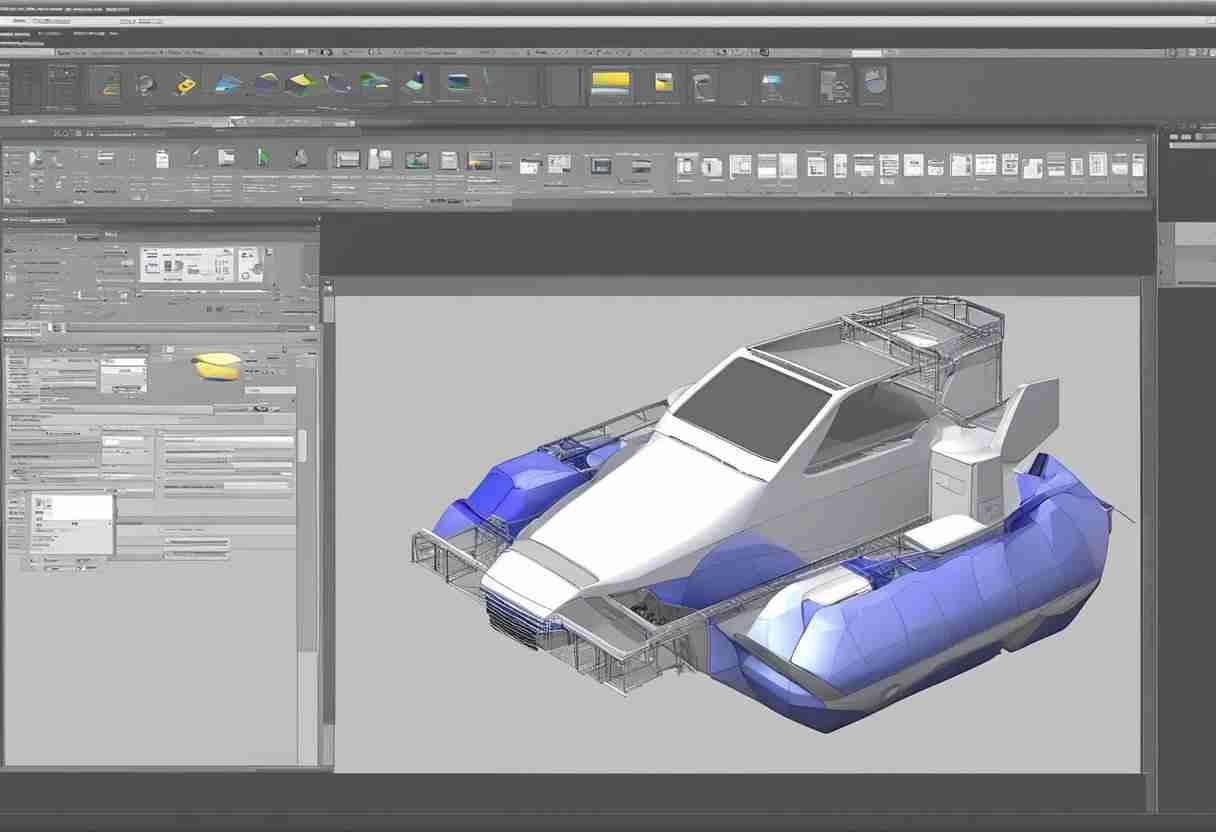
Several CAD software options are available, each with unique features suited for various design tasks. Designers may choose beginner-friendly platforms like TinkerCAD or opt for more advanced systems such as Autodesk Fusion 360 when creating STL files. Selecting the right design software often depends on the user's skill level and specific project requirements.
Preparing Your 3D Model for STL Conversion
Before converting to STL, ensure the original 3D model meets the necessary standards and use a suitable CAD program to set up the model for the best possible results.
Ensuring the Quality of the Original Model
A high-quality 3D model is the cornerstone of a successful print. The designer must scrutinize the complete model design for errors and confirm that it is a watertight solid model to avoid issues during printing. This means no gaps or missing faces; the model should be a completely solid object. It's also a good time to verify that the model aligns with the functional requirements of the intended product.
Selecting the Right CAD Program
The choice of a CAD program can make a significant difference when preparing your own models for 3D printing. Opt for a program that provides robust tools for error checking and repair, ensuring that the design adheres to best practices for 3D printing. Some programs come with built-in STL error correction, which can greatly facilitate the process.
Numerous CAD programs are available, ranging from beginner-friendly options to professional-grade tools. Some popular choices include:
- Autodesk Fusion 360 is powerful and versatile CAD software that offers a wide range of designing, simulating, and manufacturing tools. It has a user-friendly interface provides a free license for hobbyists and startups.
- SolidWorks: A professional-grade CAD program widely used in the industry for creating complex 3D models and assemblies. It offers advanced features and a robust set of tools for designing and engineering.
- Blender: A free and open-source 3D modeling software that has gained popularity among artists and designers. While primarily used for animation and rendering, Blender also has capabilities for creating printable 3D models.
- SketchUp: A user-friendly CAD software known for its simplicity and ease of use. It's a great option for beginners who want to create basic 3D models and designs.
- TinkerCAD: A web-based CAD platform that offers a simple and intuitive interface for creating 3D designs. It's an excellent choice for beginners and educators who want to introduce 3D modeling concepts.
When selecting a CAD software, think about your skill level, the complexity of your designs, and your budget. Many CAD programs offer free or educational licenses, making them accessible to hobbyists and students.
Setting Up for Best Results
Once you've chosen your CAD software, it's time to bring your ideas to life by designing your 3D model. Whether you're creating an original design from scratch or working with an existing model, there are a few best practices to keep in mind:
- Keep it Simple: Start with basic shapes and gradually add complexity as needed. Avoid unnecessary details that may not translate well in the 3D printing process. Focus on the core geometry and functionality of your design.
- Mind the Details: Pay attention to small features, such as holes, slots, and intricate patterns. Ensure they are properly defined and have sufficient thickness to withstand the printing process. Thin walls and delicate structures may require additional support or reinforcement.
- Think About Orientation: Reflect on how your model will be oriented on the 3D printer bed. Aim to minimize overhangs and support structures, which can impact the quality and efficiency of your print. Orient your model in a way that maximizes its strength and stability.
- Test and Refine: Use the visualization tools in your CAD software to preview your model from different angles. Check for any discrepancies, gaps, or overlapping geometries. Make adjustments and refinements as needed to achieve the desired result.
By following these guidelines and leveraging the tools available in your CAD program, you can create 3D models optimized for printing and ready to be exported as STL files.
Exporting Your Model as an STL File

When preparing to create a 3D print, the critical step of exporting your model as an STL file is where you define the print's quality and manageability. The following subsections will guide you through the proper adjustments and optimization techniques for STL export settings.
Adjusting STL Export Settings
Before exporting your model, navigating through the export options is important to ensure the STL export settings are tailored to your needs. Select File > Export > 3D Model, and an export data dialog box should appear. Within this dialog box, users can often select file format options and export options, such as the level of detail and units.
- Units: Choose the correct units for your model to maintain dimensional accuracy.
- Format: Select the binary or ASCII format, noting that the binary usually results in a smaller STL file size.
Optimizing for Print Quality and File Size
Find a balance between print quality and a manageable file size to achieve the best results. Users can often adjust the resolution of the STL file by changing the tolerance levels—tighter tolerances lead to a larger file size but higher-quality prints.
- Tolerance Settings: Adjust these to control the trade-off between file size and detail level.
To optimize for printing, one might right-click on the model to check for additional settings or tools provided by the software to reduce the file size without significantly compromising the quality. Testing these adjustments is recommended, as they can vary greatly depending on the complexity of your model and the intended application.
Final Steps Before 3D Printing
Before initiating the 3D printing process, selecting an appropriate slicer program and fine-tuning the slice settings are crucial to ensuring the 3D-printed parts meet quality and accuracy standards.
Choosing the Right Slicer Program
A slicer program translates a 3D model into instructions a 3D printer can understand. The next step involves choosing a slicer program suited for one's specific printing needs and printer model. Popular options include Cura and Simplify3D, which are user-friendly and compatible with a wide range of printers. Users need to consider factors such as ease of use, support structures offered for complex designs, and compatibility with their 3D printer software before making a decision.
Previewing and Adjusting Slice Settings
Once the slicer program is selected, operators must preview the slicing to ensure everything is set up correctly for a successful print. Slice settings such as layer height, fill density, and support structures must be adjusted to balance strength and the amount of material used. Optimal settings can significantly improve the structural integrity and surface finish of the 3D-printed parts, and each setting can be tailored to the specific requirements of the model to be printed, ultimately influencing the quality of the final printable file.
Inspecting and Repairing STL Files
Before sending your STL file to the 3D printer, it's important to ensure it is error-free and printable. Sometimes, issues can arise during the export process, resulting in problematic STL files. Common problems include holes, overlapping triangles, or incorrect surface normals.
Fortunately, there are various tools available to check and repair STL files. Some popular options include:
- Netfabb: A comprehensive software suite for 3D printing that includes tools for analyzing, repairing, and optimizing STL files. It offers automated repair functions and advanced editing capabilities.
- MeshLab: An open-source software for processing and editing 3D triangular meshes. It provides a wide range of tools for cleaning, repairing, and manipulating STL files.
- Meshmixer: A free software from Autodesk that offers a user-friendly interface for 3D modeling and mesh editing. It includes tools for analyzing and repairing STL files, as well as adding support structures and optimizing designs for 3D printing.
- Microsoft 3D Builder: A built-in app in Windows 10 that allows you to view, edit, and repair 3D models. It offers a simple and intuitive interface for fixing common issues in STL files.
These programs can analyze your STL file, identify potential issues, and automatically repair them. They can fix problems like non-manifold geometry, inverted normals, and self-intersecting triangles, ensuring your STL file is ready for 3D printing.
It's a good practice to always run your STL files through a repair tool before sending them to the 3D printer. This extra step can save you time and frustration by preventing print failures and ensuring a smoother printing process.
Analyzing for Well-Formed Mesh
A well-formed mesh is crucial to a successful print. To analyze an STL file, one must check that all vertices and edges are properly aligned and connected, forming a solid structure without holes. The STL file specification requires that the mesh be closed and watertight, with all faces correctly oriented. A manifold STL is particularly important, as it signifies that every edge in the mesh is shared by exactly two faces, which is fundamental in preventing printing errors.
Notable Attributes of a Well-Formed Mesh:
- Closed Surfaces: No gaps or missing faces.
- Consistent Normals: All faces point outward.
- Non-Intersecting Faces: No faces cross or intersect with one another.
Correcting Common STL File Issues
Once an STL file is analyzed, typical issues may need to be addressed. Common problems include reversed normals, which can create a surface that appears inside out, and non-manifold edges that can lead to misunderstanding of the object bounds by a 3D printer. One must also consider the lack of resolution - STL files often approximate smooth curves with flat surfaces, which may need refinement for a high-quality print.
Strategies to Correct Common Issues:
- Reversed Normals: Use software tools to flip normals and unify their direction.
- Non-Manifold Edges: Identify and correct these edges to ensure two faces share each edge.
- Resolution Improvement: Increase the model's resolution if curves aren't smooth or detailed enough.
A rigorous inspection and repair process is essential for translating a digital model into a physical object with high fidelity.
Conclusion
Creating STL files is a fundamental skill for anyone involved in 3D printing. By understanding the STL file format, choosing the right CAD software, and following best practices for designing and exporting your 3D models, you can ensure that your designs are optimized for printing and ready to be transformed into tangible objects.
Remember to pay attention to the export settings, find the right balance between quality and file size, and always run your STL files through a repair tool before printing. With practice and experimentation, you'll develop a workflow that works best for your specific needs and 3D printing setup.
