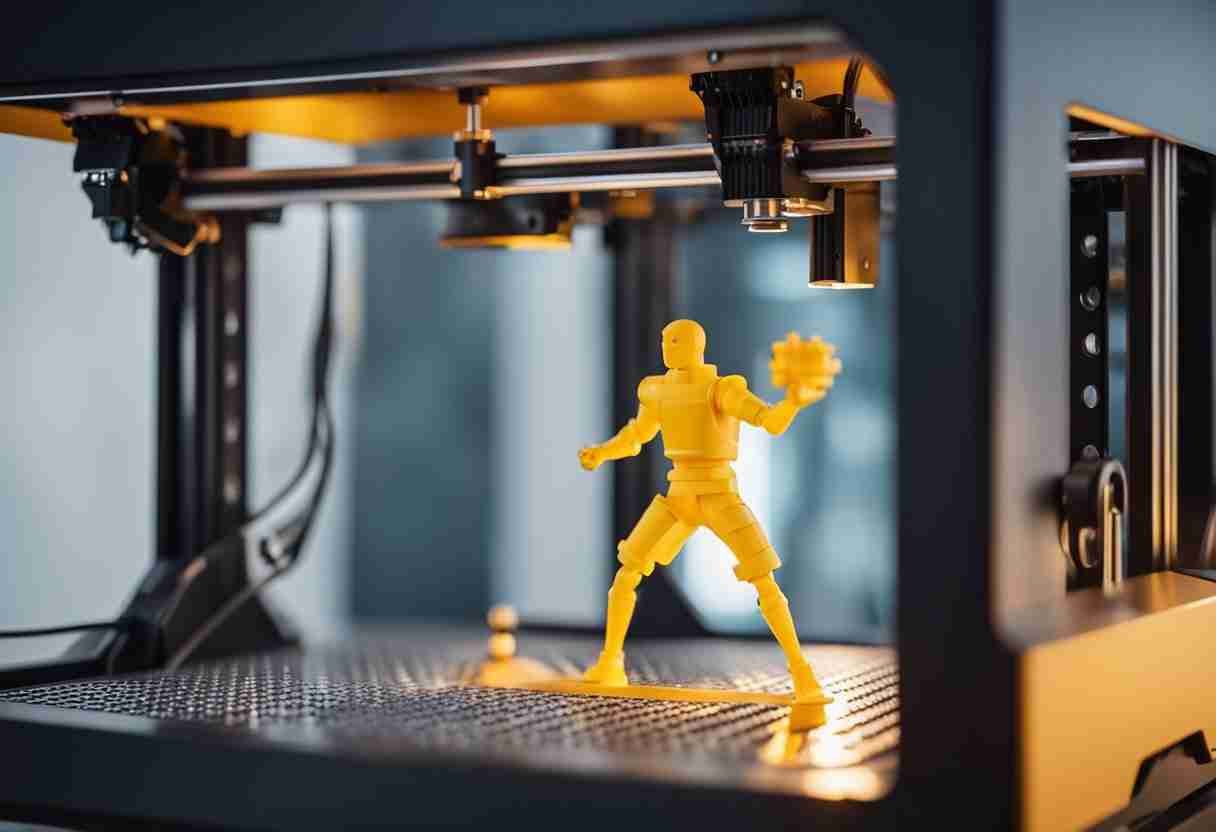
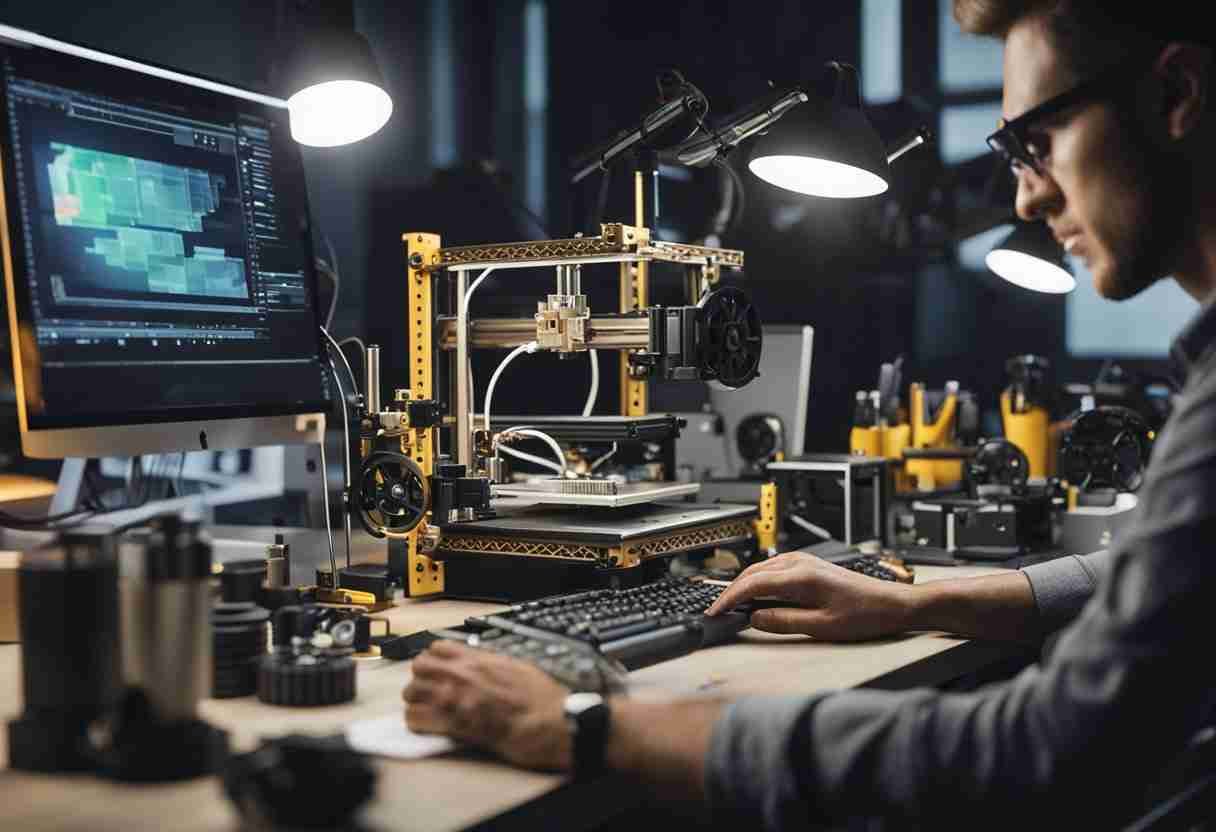
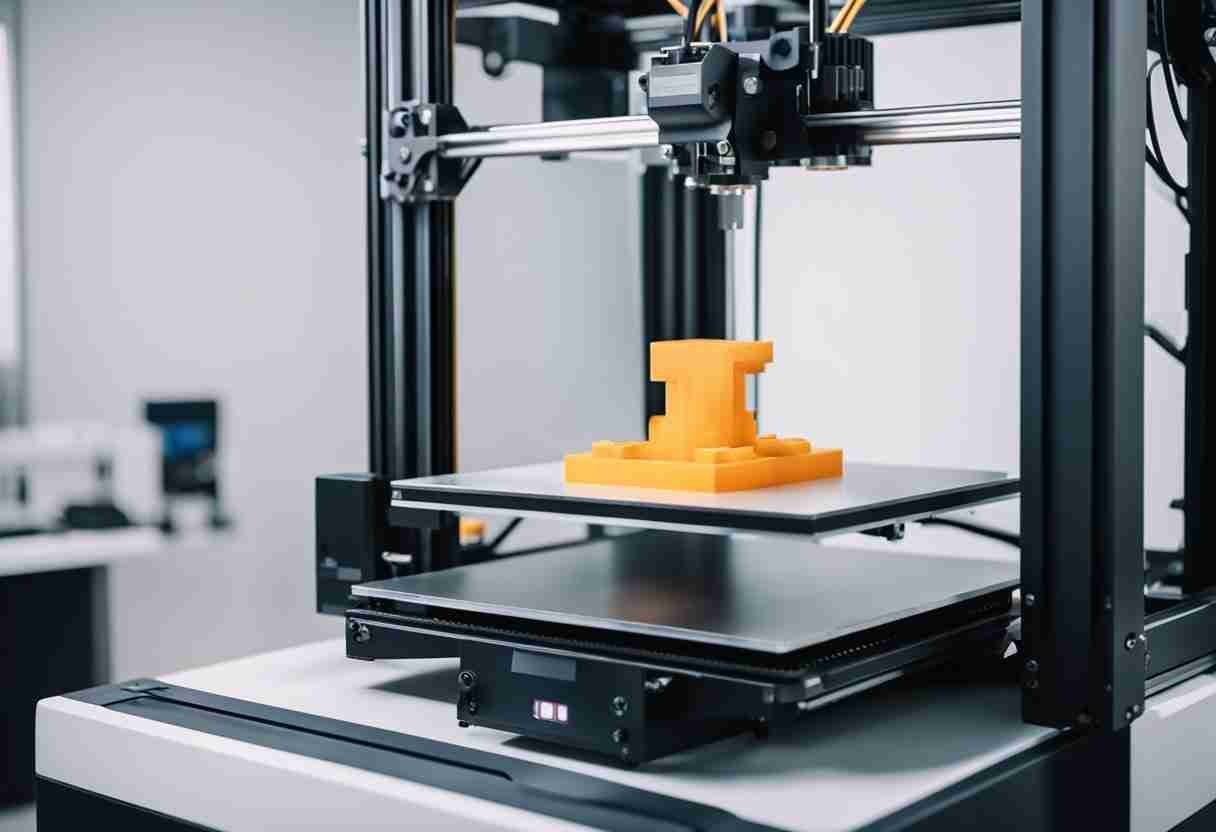
In recent years, the world of 3D printing has expanded far beyond the limitations of industrial use and into the hands of enthusiasts and consumers. One of the most intriguing applications of this technology is the ability to 3D print a replica of yourself, often referred to as a "3D selfie." Anyone can create a miniature version of themselves with the right tools and know-how.

In this article, we will explore the fascinating realm of 3D printing and show you how to unlock your true potential by creating a 3D-printed version of yourself. Whether you're a curious enthusiast or a tech-savvy individual, this blog is packed with practical tips to get you started on your 3D printing journey.
Key Takeaways
- Acquiring a 3D model of yourself is the first step in the process
- Proper file preparation and printer settings are necessary for 3D selfies
- Post-processing techniques enhance the final result and add a professional touch
Getting Started with 3D Printing
Understanding the 3D Printing Process
The first step in 3D printing yourself is understanding the 3D printing process. 3D printing, also known as additive manufacturing, involves creating a three-dimensional object from a digital file by adding material layer by layer. There are multiple 3D printing techniques; however, Fused Deposition Modeling (FDM) and Stereolithography (SLA) are the most common processes for creating figurines. FDM printers use a plastic filament to build objects, while SLA printers use a liquid resin cured with a light source. Each method is advantageous for specific applications.
Choosing the Right 3D Printer for Figurines
For new 3D printing enthusiasts, your choice of printer can make a monumental difference in the final result. You'll want to consider the following factors when choosing a printer:
- Resolution: For detailed prints, it's imperative to have a printer with high-resolution capabilities. SLA printers generally offer higher resolutions than FDM printers, making them more suitable for intricate figurines.
- Printing Materials: FDM printers typically use thermoplastics like PLA or ABS, while SLA printers use resin.
- Budget: The cost of 3D printers can vary in price. FDM printers are generally more affordable than SLA printers.
Printer Type | Resolution | Material | Budget |
|---|---|---|---|
FDM | Lower | Plastic | More affordable |
SLA | Higher | Resin | Less affordable |
Finding Your Perfect 3D Model
Once you've chosen the appropriate 3D printer, obtain a 3D model of yourself to print. There are several methods to acquire a 3D model of yourself:
- 3D Scanning: This method produces the most accurate representation by scanning your body. Handheld scanners, full-body scanners, and smartphone apps are available to assist with this task.
- 3D Modeling Software: If you have experience with 3D modeling software, create a digital representation of yourself from scratch.
- Commission a Designer: If you don't have the skills or resources to create a 3D model of yourself, hire a 3D modeling service or designer to create your custom model.
Creating Your 3D Model

With 3D printing, a digital file of the object you want to print is created first. Two standard methods for creating 3D models are CAD software and 3D scanning solutions.
Using CAD Software
Computer-aided design (CAD) software is used to design 3D models. The design is converted into a file containing instructions for the 3D printer to execute. Some popular CAD software options include Fusion 360 and TinkerCAD. These programs offer a range of tools and features to help you create a detailed and accurate model.
Consider the following tips when using CAD software:
- Maintain realistic proportions: Ensure the dimensions are accurate to prevent distortion during printing.
- Add support structures: Support structures stabilize overhangs and prevent sagging.
- Optimize design for 3D printing: Make sure your model has the proper sealant configuration (waterproofing), a consistent thickness, and is oriented correctly.
3D Scanning Solutions
An alternative to CAD software is using 3D scanning technology. 3D scanning is performed with special handheld 3D scanners or scanner apps on your smartphone.
When opting for 3D scanning, the following factors can help you achieve the best results:
- Choose the appropriate scanning method: Select a handheld 3D scanner, full-body scanning booth, or a smartphone 3D scanner app.
- Ensure sufficient lighting: Good lighting conditions improve the quality of the scan.
- Stay still during the scan: To avoid inconsistencies in the final model, keep still while being scanned.
Once you have a digital file of your 3D model, the next step is to prepare it for 3D printing by slicing the model into layers and converting it into a format your 3D printer can interpret.
Preparing Your Model for Printing

When getting ready to 3D print yourself, the following steps will help you prepare your model for 3D printing:
Converting to STL File Format
First, convert your 3D model into a format compatible with your 3D printer. STL (Stereolithography) is a widely accepted file format for this purpose. Most 3D modeling software allows you to export your model as an STL file. Ensure your model is watertight and without holes, as this will affect the print quality. Set up the slicing software once your model has been converted to an STL file.
Setting Up the Slicing Software
Slicing software takes the 3D model and slices it into individual layers, creating a set of instructions called G-code that the 3D printer can understand. One popular slicing software is Ultimaker Cura, known for its ease of use.
- Import your STL file: Open Ultimaker Cura and import your STL file into the software, ensuring that the model is within the build area of your 3D printer.
- Adjust print settings: Key settings to adjust include layer height, infill, print speed, and support structures. Choose the proper settings based on your printer's capabilities and the requirements of your model.
- Layer height: The object layer height determines the vertical resolution of your print. A smaller layer height (e.g., 0.1mm) produces more detailed prints but requires a longer print time. A larger layer height (e.g., 0.3mm) will be faster but less detailed.
- Infill: The infill percentage determines the solidity of the printed object. A higher infill percentage produces a more robust print but consumes more material. Expect longer print times with additional infill material.
- Preview and Export: Before printing, always preview the sliced model to check for issues. If everything looks good, export the G-code to your 3D printer via an SD card or wireless connection, depending on your printer's capabilities.
The Printing Phase

Calibrating the 3D Printer
Before you start 3D printing yourself, it's essential to assemble and calibrate your 3D printer correctly. Follow the manufacturer's guidelines for building and setting up your printer, ensuring all components are securely fastened. One of the crucial elements for high print quality is a properly leveled print bed. You can achieve this by adjusting the printer's bed using knobs or hexagon nuts, depending on your specific printer model.
Once assembled, insert the SD card containing your 3D printer designs into the printer. If you don't have a printer, you can also use a printing service to get the job done. Inspect the stitch points in your design before starting the print process, as they can impact the final result.
Understanding Printer Settings
An essential aspect of 3D printing yourself is selecting the appropriate settings and materials. FDM printing is the most common method for creating a mini version of yourself, utilizing materials like PLA or ABS. Keep in mind that different materials require specific temperature settings for optimal results.
Check the following settings before printing:
- Layer height: The layer height determines the resolution of your print. A smaller nozzle size will yield a higher resolution, while a larger nozzle will create a rougher appearance.
- Infill: Infill settings impact the weight and strength of your 3D print. Higher infill percentages result in denser models. Lower infill settings produce objects lighter in weight.
- Speed: Print speed determines the time for completion. It's a good idea to start with slower speeds for your first print to ensure proper adhesion and reduce the risk of errors.
- Supports: Include support structures, if applicable, to prevent your model from collapsing during the print process. Choose the appropriate support settings to maintain the integrity of your design.
Post-Processing
After completing a 3D print of yourself, post-processing is an essential step to enhance the appearance and durability of the final product. This section will guide you through removing support material, sanding, and painting to achieve the best results.
Removing Support Material
Support material stabilizes overhanging parts and complex structures. Once the print is complete, remove the support material material. Use a pair of pliers or a similar tool to remove the support structures without damaging the print. You can also use a hobby knife for more precise and intricate parts. Remember that some prints may require more time and effort to remove all support materials.
Sanding and Painting Your 3D Print
Sanding - Sanding is the go-to method to achieve a smooth surface and refine the overall appearance of your 3D print. Start with a lower grit sandpaper (around 100) to remove any visible layer lines and imperfections. Wet sand your print to avoid overheating and excess dust. Gradually increase the grit of the sandpaper (up to 600-800) for a more polished appearance.
Painting - Painting your 3D print embellishes the appearance of the final product. Before painting, ensure your model is free of dust and debris from the sanding process. You may also want to use a primer to improve paint adhesion. When selecting a paint type, consider using acrylic paints as they are water-soluble and come in a wide range of colors. Apply thin layers of paint, allowing each coat to dry before adding the next layer. This technique helps to avoid brush strokes or an uneven finish. After the paint is dry, apply a clear coat to protect the painted surface.
Other 3D Print Ideas
Personalized Action Figures
An emerging feature of 3D printing is its ability to create personalized action figures. With 3D scanning technology, you can create a digital model of yourself and convert it into a printed action figure. This process opens up innovative 3D printing ideas that can be used to capture your unique personality or showcase your favorite hobbies in the form of customizable figurines.
The design process for personalized 3D-printed action figures is accomplished by capturing a high-quality digital model of your face or body. The model is then integrated with other 3D-printed parts, such as outfits and personalized accessories.
Wedding Cake Toppers
A wedding day is a memorable event. A unique way to add a personalized touch to a wedding is with 3D-printed wedding cake toppers. Customized toppers can feature the bride and groom in their chosen attire, striking a pose that reflects their personality. Toppers can also incorporate elements from the bride and groom's shared hobbies.
Wedding cake toppers start with obtaining digital models of the couple, either through 3D scanning or reference photos. After the digital model is created, it is ready for 3D printing. Add paint and other customized details to create an exquisite representation of the bride and groom.
Troubleshooting Tips
Common 3D Printing Issues
When 3D printing yourself, be aware of common print issues and the steps needed to resolve them. Problems frequently encountered are poor adhesion, warping, clogging, and stringing. A helpful resource that provides detailed solutions for these issues is the 3D Printing Troubleshooting Guide. Quick tips on common 3D printing issues:
- Poor adhesion: Ensure that the print bed is level and clean. Apply an adhesive substance like blue painter's tape or a glue stick if necessary.
- Warping: Make sure there's sufficient cooling for the 3D-printed object. Also, consider using a heated bed to reduce warping.
- Clogging: Clean the nozzle regularly and check for signs of partial blockages.
- Stringing: Adjust the retraction settings to minimize stringing and adjust the print temperature as needed.
Longevity of Your 3D Printer
To ensure your 3D printer's longevity, moving parts and internal components must be properly maintained. Here are some good practices to help extend the life of your printer:
- Regular cleaning: Clean the printer's frame, print bed, and extruder. Dust and debris can accumulate over time and interfere with the smooth operation of your printer.
- Lubricate moving parts: Apply a lightweight machine lubricant to moving parts - rods, rails, and bearings. Doing so will reduce friction and wear.
- Check and replace components as necessary: Replace worn or damaged belts, stepper motors, and electrical components as necessary. For dual extrusion printers, ensure that both extruders are functioning correctly.
- Firmware updates: Keep your printer's firmware up-to-date, as manufacturers periodically release updates for bug fixes and functionality improvements.
By following these tips, you'll be well on your way to ensuring that your 3D printer remains optimal for creating high-quality 3D selfies. Good luck in your 3D printing journey!
Frequently Asked Questions
What steps are involved in creating a 3D-printed self-portrait?
First, you must capture a 3D scan of your face or body using a 3D scanner or convert a 2D photograph into a 3D model. Next, create the 3D model using modeling software and make any adjustments as needed. Finally, you'll use a 3D printer to print the model using a suitable material, like PLA or ABS filament.
How can I convert a photograph into a 3D printable model?
You can convert a photograph into a 3D printable model using photogrammetry software. This type of software analyzes multiple 2D images taken from different angles to create a detailed 3D model. Popular photogrammetry software includes Autodesk ReMake and Agisoft PhotoScan.
What equipment is needed to 3D scan my body for printing?
To create a 3D scan of your body for printing, you'll need a 3D scanner. Several 3D scanners are available: handheld, structured light, and laser. Some popular 3D scanner options are the Artec Eva, Matter & Form V2, and the Shining 3D EinScan.
Is it possible to 3D print a detailed replica of my head?
Yes, it is possible to 3D print a detailed replica of your head using high-resolution 3D scans and a 3D printer capable of reproducing fine details. Using an FDM or SLA printer with a small nozzle size, high layer resolution, and multiple filaments or resins, you can reproduce intricate facial features and textures in your 3D-printed head model.
Can I use a 3D printer at home to produce a model of myself?
Yes, you can use a 3D printer at home to produce a model of yourself. Many consumer-level 3D printers, such as the Prusa i3 MK3S or the Creality Ender 3, can produce high-quality prints.
Are there any services available that specialize in 3D printing personal figurines?
Yes, several services are available that specialize in 3D printing personal figurines. These services often use advanced 3D scanning technology and high-quality 3D printers to create detailed, professional figurines. Two popular services are Shapeways and Sculpteo. You can also find local 3D printing services or maker spaces that assist with 3D scanning, modeling, and printing.
