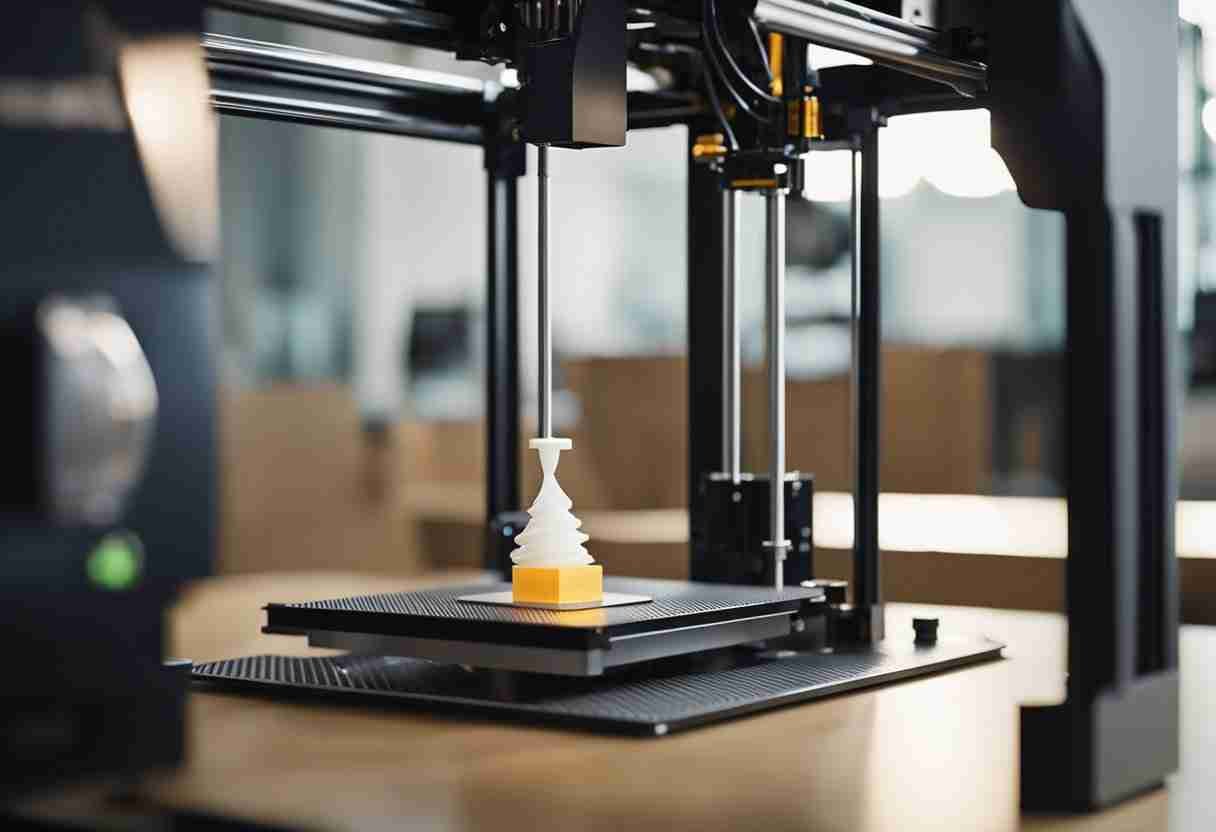
3D printing, also referred to as additive manufacturing, has gained significant popularity across various industries due to its ability to efficiently produce customized objects without relying on traditional manufacturing methods. It works by laying down successive layers of material until the desired object is formed. This comprehensive guide will walk you through the step-by-step process of 3D printing, covering everything from understanding the fundamental principles of the technology to troubleshooting and maintenance.

Before beginning 3D printing, you must familiarize yourself with various 3D printing technologies like fused deposition modeling (FDM) and selective laser sintering (SLS). Each technique has advantages and disadvantages. Understanding them will aid you in selecting the appropriate printer that aligns with your specific requirements. Moreover, familiarizing yourself with various material options—from plastics like ABS and PLA to metals and ceramics—will enable you to find the ideal material for your project.
Once you have a solid understanding of 3D printing basics, you can set up your printer, design your model, prepare the 3D model for printing, and finally print your object. Throughout this process, you may encounter challenges; however, armed with the basics, you can create impressive and functional objects.
Key Takeaways
- Familiarize yourself with different 3D printing technologies and materials
- Properly set up, design, and prepare your 3D model for a successful print
- Learn post-processing techniques and maintenance for long-term printer performance
Understanding the Basics of 3D Printing
3D printing, also known as additive manufacturing, is a process that creates three-dimensional objects from digital models. It has revolutionized various industries, such as aerospace, automotive, and healthcare. This section will explore the 3D printing process and introduce different 3D printing technologies.
The 3D Printing Process
Several steps are involved in the 3D printing process:
- Design: Create a digital 3D model of the object using a Computer-Aided Design (CAD) program or a 3D scanner.
- Slicing: Divide the 3D model into thin, horizontal layers using slicing software. This step generates a G-code file that the 3D printer can understand.
- Printing: The 3D printer reads the G-code file and builds the object layer by layer, using the selected printing technology.
- Finishing: Perform post-processing tasks such as support removal, surface finishing, or painting to achieve the desired appearance.
Different 3D Printing Technologies
Many different 3D printing technologies exist, each with benefits and limitations. Some of the most commonly used technologies are:
- Fused Deposition Modeling (FDM): FDM printers melt thermoplastic filaments and extrude them through a nozzle onto a build platform. FDM is widely used because of its affordability and versatility in materials. The disadvantage to FDM is that it may not achieve the highest resolution compared to other processes (source).
- Stereolithography (SLA): SLA printers use a UV laser to cure liquid resin and solidify it into layers. This technology offers high resolution but has higher costs and material limitations than FDM (source).
- Selective Laser Sintering (SLS): SLS printers use a laser to fuse powdered materials, such as nylon or metal. This process produces strong, functional parts with complex geometries. SLS has a higher equipment cost and requires extensive post-processing (source).
- Direct Metal Laser Sintering (DMLS): Similar to SLS, DMLS uses a laser to fuse metal powders to create parts with high strength and temperature resistance. DMLS is often used for aerospace and automotive applications but involves higher material costs and specialized equipment.
- Multi Jet Fusion (MJF): MJF printers use a combination of heat and UV light to fuse powdered materials. The advantage of MJF is that it can create parts with excellent mechanical properties and dimensional accuracy. MJF is ideal for producing prototypes and end-use parts; however, this technology has higher material costs than other processes.
Choosing the right 3D printing technology for an application depends on material requirements, desired resolution, and budget. Understanding the basics of 3D printing and the technologies available will enable 3D printing enthusiasts to make informed decisions when selecting a printing process.
Setting Up Your 3D Printer

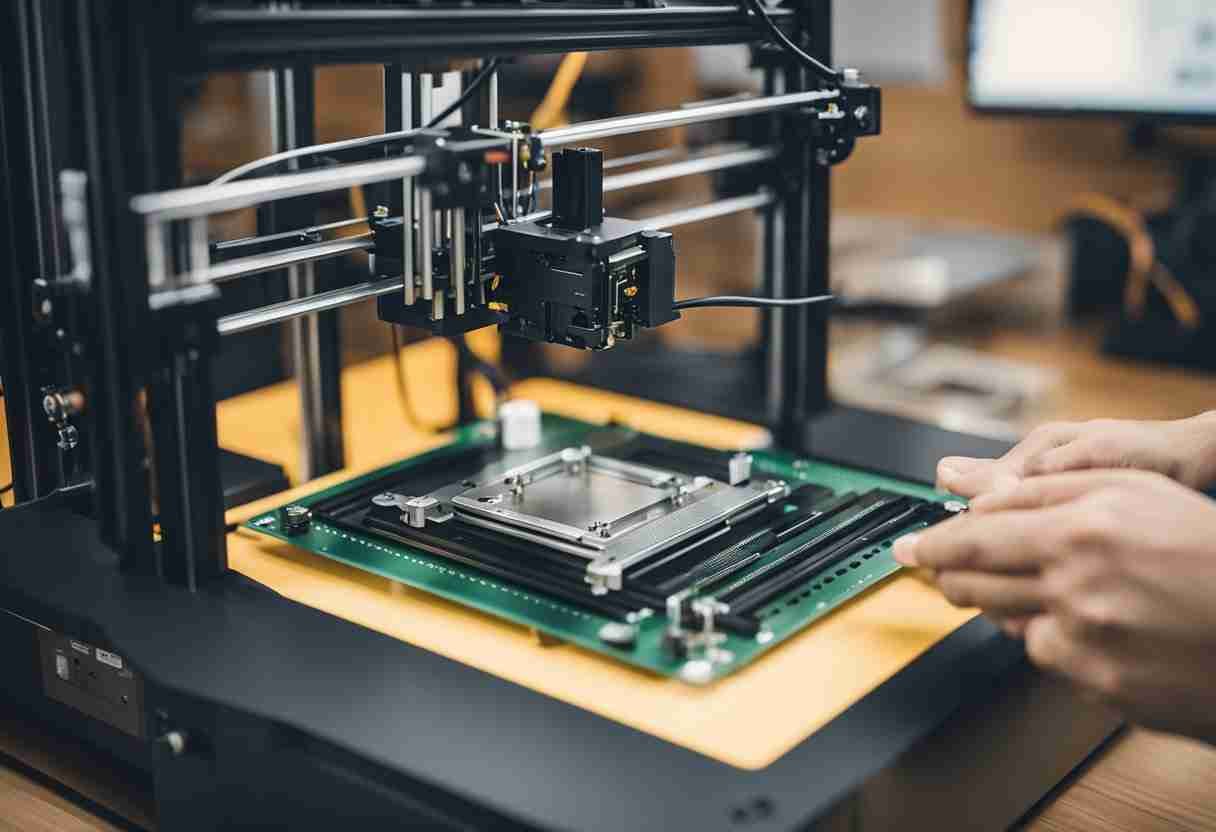
Setting up your 3D printer involves assembling the printer kit, calibrating the print bed, and preparing the build platform. Taking the time to prepare your printer is the first step to achieving higher-quality prints.
Assembling a 3D Printer Kit
When purchasing a 3D printer kit, thoroughly read the manufacturer's instructions to ensure a successful printer assembly. The first step is unboxing the components and organizing them accordingly.
Follow these steps for a smooth assembly process:
- Check and identify all the parts and components.
- Assemble the frame, gantry, and other structural components.
- Install the electronics, motors, hot ends, and extruders.
- Connect the wiring and power supply.
- Test the printer for functionality and movement.
Always refer to the instructions provided by the manufacturer, as different printer models have specific assembly requirements.
Calibrating the Print Bed
Proper calibration of the print bed is essential to the 3D printing. This process confirms the build platform is level and that the initial layer adheres well to the build surface.
Follow these steps to calibrate the print bed:
- Heat the bed to its recommended bed temperature.
- Level the bed using its adjustment knobs or screws. Always ensure the build plate is parallel to the printer's gantry.
- Test the bed leveling by running a calibration print or using a leveling tool.
- Adjust the leveling, if necessary, based on the test results.
It's important to regularly check and calibrate the print bed, especially after any mechanical adjustments or transportation of the printer. By carefully assembling your 3D printer and calibrating the print bed, you create a strong foundation for successful 3D printing projects.
Designing Your Model

The first step in 3D printing is to create a digital model of the object you want to print. 3D design models are created using various CAD (computer-aided design) software programs, which enables you to create a model with precision and control.
Using CAD Software
Many CAD software options range from beginner-friendly to more advanced tools for professional designers. Some popular CAD software programs are Tinkercad, Fusion 360, and Blender. These tools allow you to create custom 3D models by inputting dimensions, manipulating shapes, and refining details. Throughout the design process, you can adjust and visualize your model in 3D to ensure it meets your intended design specifications.
When selecting a CAD software, consider the following factors:
- Ease of use: If you're new to 3D design, choose a program with a user-friendly interface and tutorials to help you get started.
- Functionality: Some programs offer specialized tools or features tailored to specific industries or applications.
- Cost: While free CAD programs are available, more advanced software may require a subscription or one-time purchase.
Exporting STL Files
After designing your model, export the file into a format compatible with your 3D printer. The most common file format for 3D printing is the Standard Triangle Language (STL) file. This format represents a 3D model as a series of interconnected triangles, which the 3D printer will use as a guide to build your object layer by layer.
To export an STL file from your CAD software, follow these general steps:
- Check your model for gaps or overlaps and correct them if necessary.
- Convert your model into a mesh of triangular faces that the 3D printer can easily interpret.
- Export your model as an STL file. Select the appropriate options for units, quality, and scaling based on your desired outcome.
- Inspect your exported STL file in a specialized STL editing software. You can also use your 3D printer's slicing software to confirm the device is ready for printing.
In conclusion, CAD software is essential for creating custom digital models. The STL file format is widely used to prepare these models for 3D printing. By following the guidelines and best practices for designing your model, you can be confident in producing accurate 3D prints.
Preparing the 3D Model for Printing

Slicing the Digital File
To begin 3D printing, prepare the 3D model for printing by slicing the digital file. Slicing converts the model file into a G-code file that the 3D printer can understand. The G-code file consists of instructions for the printer, such as the specific movements and temperatures needed throughout the print.
Several slicing software options are available, with popular choices like Cura, Slic3r, and Simplify3D. These programs allow users to fine-tune settings and optimize print quality. They also provide a visualization of the print layers, which helps to identify and resolve potential issues before printing.
Configuring Print Settings
Configuring the print settings is crucial for obtaining good print quality. The following table outlines specific parameters to adjust before printing:
Setting | Description |
|---|---|
Layer Height | Controls the thickness of each layer in the print |
Wall Thickness | Controls the thickness of the outer walls of the model |
Lowering the layer height improves the print's resolution. This results in a smoother and more detailed printed object. It's important to note that a lower layer height will increase print time due to the additional number of layers. A typical starting point for layer height is 0.1mm to 0.3mm; however, this can be adjusted based on individual preferences and printer capabilities.
Determining the appropriate wall thickness correlates with the model's durability and strength. A thicker wall provides more stability to the printed object. A minimum wall thickness of 1mm is often recommended for smaller models, although larger models generally require thicker walls.
Preparing the 3D model for printing involves slicing the digital file and configuring the print settings. Selecting appropriate slicing software and adjusting parameters directly impact the final result of printed objects.
The Printing Process

Loading the Material
Before starting the 3D printing process, load the chosen material into the printer. Most 3D printers use plastic filaments, but many different filaments are also available. Some popular choices are PLA, ABS, and PETG. Feed your chosen filament into the printer's extruder. Confirm the print head is clean and the filament is correctly seated in the extruder.
Starting the Print Job
To begin the actual 3D printing process, you must first create a 3D design using specialized 3D modeling software. Save the design in a format suitable for your 3D printer, usually *.STL or *.OBJ file format. Then, slice the 3D model into layers using slicing software. This process converts the design data into instructions for the printer to execute. Configure the print speed, support material, and layer thickness within the slicing software.
After you have sliced your 3D design, export the G-code file to your printer. Ensure the print bed is level before starting the print job. If necessary, apply a base layer of adhesive or support material to prevent the object from accidentally detaching during printing.
As the print job commences, the printer's print head moves in a pre-determined path, depositing material layer by layer until the object is complete. The thickness of each layer and the print speed can be adjusted to achieve the desired level of detail. Thinner layers generally result in better detail but increase the printing time.
Throughout the printing process, watch the object for warping or layer separation. If the issues arise, pause the print job and correct the issue before resuming the print.
In summary, to 3D print an object:
- Load the material into the printer's extruder.
- Create a 3D model and slice it into layers using specialized software.
- Configure the print settings, such as print speed, support material, and layer thickness.
- Export the G-code file and send it to the printer.
- Ensusre the print bed by level.
- Add adhesive or support material.
- Start the print job and monitor the printing progress.
Following these steps, you can 3D print your desired object with precision.
Post-Processing and Finishing Techniques
Post-processing enhances the appearance and functionality of the printed part. This section will discuss two critical aspects of post-processing: removing support structures and achieving smooth surfaces.
Removing Support Structures
Support structures are often necessary during 3D printing to support parts with overhangs or intricate geometries. Once the printed part is complete, remove support structures carefully without damaging the part. Use any of the methods below to remove support structures from the 3D-printed part:
- Manual removal: Use pliers, tweezers, or flush cutters to break away support structures from the printed part.
- Water-soluble supports: Some materials, like Polyvinyl Alcohol, can be dissolved in water,
- Heat treatments: Support materials are removed by selectively applying heat, which thermally separates the support structures from the printed part.
Achieving Smooth Surfaces
Another aspect of post-processing is smoothing the surfaces of a solid model to improve its finish. Some popular techniques for achieving smooth surfaces include:
- Sanding: Manually sand the printed part with a suitable grit of sandpaper.
- Chemical smoothing: Applying chemicals, such as acetone for ABS, can help smooth the surface by dissolving the outer layer of the printed part.
- Polishing: Some materials benefit from polishing. Tools like rotary polishers or buffing wheels help create smooth surfaces.
- Vapor smoothing: Placing the printed part in a chamber with solvent vapors - acetone for ABS or ethyl acetate for PLA results in a smoother finish.
Employing post-processing and finishing techniques can significantly enhance the aesthetics of a 3D-printed part.
Maintenance and Troubleshooting
Regular Printer Maintenance
To achieve consistently good results from your 3D printer, it is essential to perform regular maintenance. This includes inspecting, cleaning, and replacing printer parts as needed. Lubricating moving parts and ensuring proper alignment is vital for smooth operation. Keeping a small inventory of spare parts is recommended to minimize downtime.
- Extruder Cleaning: Over time, debris and filament residue may accumulate in the extruder. When this occurs, it leads to clogging. Regularly clean the extruder using a brush tool.
- Build Plate Maintenance: Verify the build plate is clean and properly leveled for an even printing surface. Check for adhesive residue and clean accordingly.
- Check Belts and Screws: Loosened belts and screws impact the quality of prints. Periodically check and tighten these components to maintain consistent prints.
- Update Firmware: Keeping your printer's firmware up-to-date helps improve performance and enables new features.
Troubleshooting Common Issues
When facing issues with printer functionality, it's important to understand the common causes and solutions. The following are some of the most common issues and their fixes:
- Poor Adhesion: Make sure the build plate is clean and leveled. Additionally, consider using a brim or raft to improve adhesion. If the issue persists, experiment with different default settings to find an optimal solution.
- Stringing and Oozing: These issues can be caused by incorrect retraction settings. Adjust the retraction settings in your slicing software to reduce stringing and oozing.
- Layer Separation: Inconsistent temperatures during printing may lead to layer separation. Check the default settings for the printing temperature and increase slightly to improve layer adhesion.
- Clogged Nozzle: If you notice a decrease in print quality and extrusion, it is most likely a clogged nozzle. Perform a cold pull or use a nozzle cleaning tool to clear the blockage.
Remember to refer to your printer's documentation or online forums for model-specific instructions and support. Regular maintenance and effective troubleshooting will help prolong the lifespan of your 3D printer to ensure consistent, high-quality prints.
Frequently Asked Questions
What are the initial steps for a beginner to start with 3D printing?
When learning to 3D print, focus on understanding the basics of additive manufacturing principles. Next, research the different types of 3D printers available and determine which best suits your needs. Once a printer is chosen, familiarize yourself with its software and compatible materials. Finally, start with simple designs to develop your skills before moving on to complex projects.
Which CAD software is recommended for designing models for 3D printing?
Numerous CAD software programs cater to different skill levels. Some popular options include Tinkercad, Fusion 360, SketchUp, and Blender. Beginners may prefer Tinkercad for its user-friendly interface, while advanced users may opt for Fusion 360 or Blender for more powerful features.
What is the typical process flow for printing a 3D object from start to finish?
The process begins by designing a digital model in CAD software or downloading a pre-made design from an online repository. This digital model is then converted into a format compatible with a 3D printer (often a . STL or . OBJ file). The model is imported into a slicer software, which converts it into a series of layers and generates the necessary code (G-code). This code is then sent to the 3D printer, and the object is printed layer by layer, fusing the material onto the print bed.
What should a newbie look to print as their first project on a new 3D printer?
Start with a simple design that does not require complex geometries or supports. For example, keychains, coasters, or smartphone stands are good beginner projects. As you become more comfortable, progress to intricate objects like model toys (examples in this book) or household items.
How do I prepare a 3D printer before starting the printing process?
Preparing a 3D printer involves several steps:
- Ensure the build platform is clean and properly secured.
- Level the print bed to guarantee consistent printing results.
- Load the material (filament, resin, or powder) according to the manufacturer's instructions.
- Preheat the print bed and nozzle (if necessary) to the recommended temperature.
- Check the printer's settings - layer height, print speed, and infill density.
Which are the primary types of 3D printing technologies, and how do they differ?
3D printing technologies differ based on the material used and the deposition method. Some common types include:
- Fused Deposition Modeling (FDM): Plastic filaments are melted and deposited layer by layer.
- Stereolithography (SLA): A liquid resin is hardened by exposure to a light source, usually a laser or UV light.
- Selective Laser Sintering (SLS): A laser fuses powder and forms solid objects.
- Digital Light Processing (DLP): Similar to SLA, DLP uses a digital light projector to cure the resin.
- Multi Jet Fusion (MJF): Plastic or metal powder layers are fused together by a printhead and UV light.
