Achieving a strong bond between layers is paramount for successful projects. Finding the right glue for your PLA, ABS, PETG, or other filaments can be challenging. This guide explores the best adhesives and methods to enhance your 3D printing experience.
Various types of glues perform differently with certain materials used in 3D printing. The best glue often depends on the type of filament you are using. Some popular choices include cyanoacrylate glues like Gorilla Super Glue, acetone-based solutions for PLA and ABS, and two-part epoxy glues for stronger bonds. PVA glue is another common material used in 3D printing to improve bed adhesion.
This article will explore solutions for bonding 3D-printed parts and discuss their applications, advantages, and potential drawbacks. By understanding the different types of glues available and their appropriate use cases, you'll be better equipped to select the best adhesive for your 3D printing projects.
Understanding Glue Types
Several types of adhesives are available, each with its advantages and disadvantages. This section will cover three main types of glues used in 3D printing: epoxy resin, cyanoacrylate (CA) glues, and polyurethane glues.
Epoxy Resin
Epoxy resin is a two-component adhesive that consists of a resin and a hardener. They form a strong bond that adheres to other 3D-printed materials when mixed. Some key features of epoxy resin include:
- Strong bond: Epoxy resins are used for a wide range of materials and create a durable adhesion.
- Versatility: Epoxy can be used on metal, wood, and plastic surfaces.
- Long curing time: Epoxy takes longer to cure than other glues, allowing more time for adjustments during the bonding process.
Disadvantages: Epoxy resin can be messy due to its two-component nature. The material also emits higher levels of toxic fumes during curing.
Cyanoacrylate Glues
Cyanoacrylate (CA) glue, commonly known as super glue, is popular for 3D printing projects. It is a fast-bonding adhesive that polymerizes quickly when exposed to moisture. Here are some of the main advantages of using CA glues:
- Rapid curing time: CA glues cure quickly, often within seconds. They are excellent for objects requiring a fast bond.
- Strong bond: CA glues create a strong bond that works well with PLA, ABS, and PETG filaments.
- Easy application: Most CA glues come in easy-to-use applicators, allowing for precise application to the printed object.
Disadvantages: CA glues are less flexible than other types of glues. Rapid curing time can be a disadvantage if adjustments are needed during bonding.
Polyurethane Glues
Polyurethane glues are another option for 3D printing projects. It is an adhesive belonging to the family of polymeric adhesives, known for versatility and strong bonding properties. Some features of polyurethane glues include:
- Flexible bond: Polyurethane glues create a flexible bond and work well for objects requiring enhanced elasticity.
- Water resistance: Polyurethane glues offer good water resistance and are useful for outdoor applications that involve water exposure.
- Wide material compatibility: Polyurethane glues bond well with wood, metal, and plastic.
Disadvantages: A downside of polyurethane glues is their longer curing time. Curing time for this material can range from a few hours to a full day. Additionally, this material is known to expand during the curing process, potentially affecting the bond's appearance.
Preparing 3D Prints for Gluing
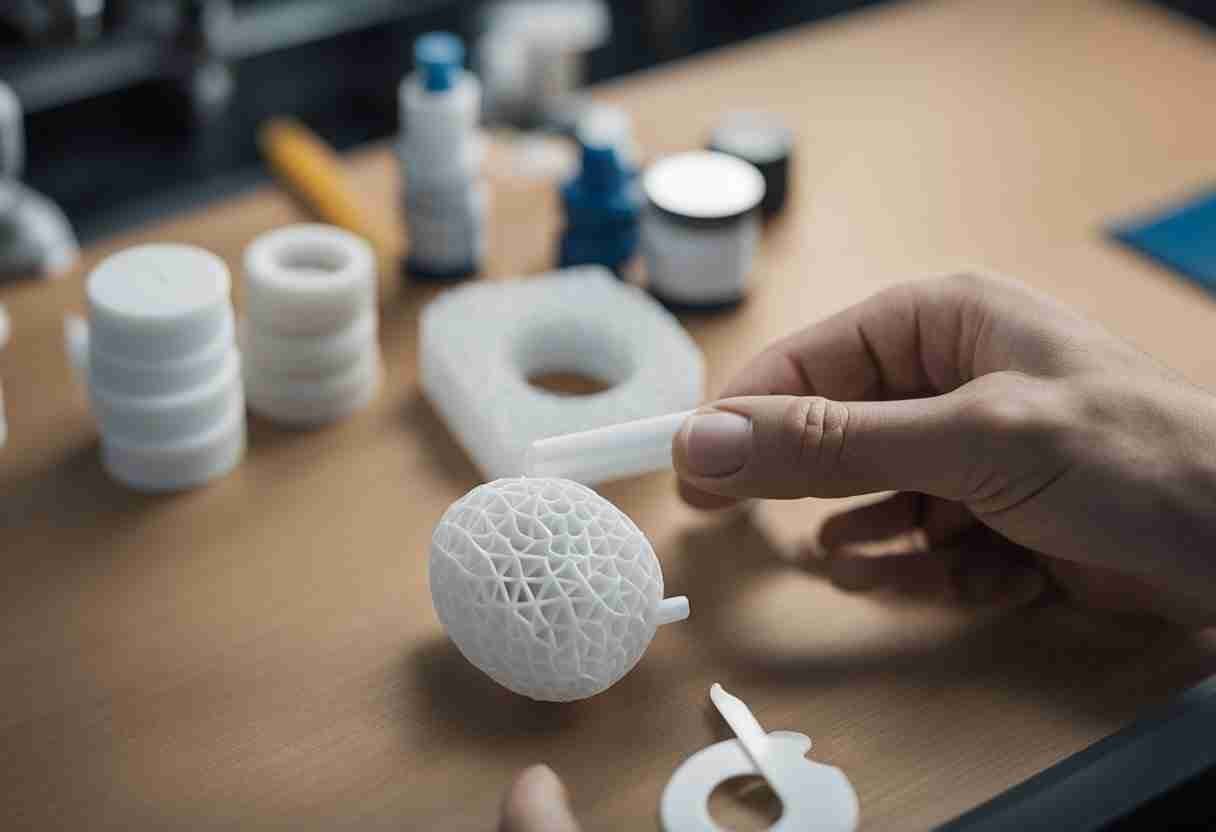
Successful bonding of 3D-printed parts requires proper preparation. This section will discuss the two essential steps for preparing 3D prints for gluing: surface preparation and applying a thin layer of glue to the object's surface.
Surface Preparation
Before applying glue, it's essential to prepare the surfaces of the 3D-printed parts. Proper surface preparation ensures that the bond is strong and long-lasting. Follow these steps for optimal surface preparation:
- Clean the surfaces: Remove any dust or debris from the printed parts using a soft brush or cloth. If necessary, use a small amount of rubbing alcohol to clean any oils or grease.
- Sanding: Depending on the material, it might be helpful to lightly sand the contact surfaces with fine-grit sandpaper to create a rougher texture for better adhesion. Be sure not to over-sand, as this can weaken the part.
- Check alignment: Check to make sure that all parts align correctly before applying glue.
Applying a Thin Layer
Once the surfaces are prepared, apply a thin layer of glue to ensure a strong bond. Here are some tips for applying a thin layer of adhesive:
- Choose the correct glue: Choose a glue that is specifically designed for the material of your 3D print.
- Use a small brush: Apply the glue using a small brush to ensure precise and even distribution. Avoid applying too much glue, which may create a weak bond or cause parts to shift when drying.
- Clamping: Secure the parts using clamps while the glue dries. Clamping establishes proper alignment and helps the adhesive to cure correctly.
These surface preparation tips will help achieve good results when bonding 3D-printed parts.
Selecting the Right Glue for Various Printing Materials
Different materials require specific glues to ensure strong and durable bonds. This section will discuss the best glues for PLA, ABS, PETG, and flexible filaments.
PLA Parts
PLA plastic is one of the most common materials used in 3D printing. Look for glues recommended for PLA filament to achieve proper print bed adhesion and strong bonds between printed parts. For example, Gorilla Super Glue is an excellent option for most 3D-printed PLA parts. Another alternative is Pronto 100% Pure Acetone, which works well for PLA and ABS materials.
ABS and PETG
ABS (Acrylonitrile Butadiene Styrene) and PETG are popular printing materials requiring stronger adhesives due to their properties. Gorilla 2 Part Epoxy is a reliable choice for both ABS and PETG parts.
To improve print bed adhesion for ABS and PETG filaments, consider using a glue stick specifically for 3D printing. The Layerneer Bed Weld is a great overall choice for these filament types.
Flexible Filaments
TPU and TPE are flexible materials that require specialized adhesives due to their unique properties. Loctite 406 Super Glue is a popular option for flexible filaments. This glue provides strong bonds and is compatible with TPU and Nylon. Use caution when dealing with 3D prints made from flexible materials. Applying too much pressure during bonding can cause deformation.
In summary, selecting the right glue for your 3D printing materials is crucial to ensure robust and long-lasting bonds. Consider material compatibility, adhesion strength, and ease of use when choosing the best adhesive for your 3D printing projects.
Methods for Bonding 3D Printed Parts
When working with 3D-printed objects, bonding the separate parts to form a strong bond can be challenging. Different methods for bonding 3D printed parts, such as solvent welding and mechanical bonding, exist. This section will discuss these two common techniques and their characteristics.
Solvent Welding
Solvent welding is a technique that involves a bonding agent, usually a liquid solvent, to dissolve and fuse the layer lines of two 3D-printed parts. This method is ideal for PLA, ABS, and PETG, as they form a single solid piece when the solvent evaporates. One of the benefits of solvent welding is that it creates a strong bond between the parts without adding any extra material.
To perform solvent welding, gently sand the surfaces to be joined. Apply the solvent to both parts. Press the parts together, allowing the solvent to evaporate and form a tight bond between the pieces. It's important to use the appropriate amount of solvent for the specific material, as too much solvent can weaken the parts or cause them to deform. For more information on solvent welding, refer to this All3DP article.
Mechanical Bonding
Another method for bonding 3D-printed parts is mechanical bonding. This method uses a variety of techniques, such as:
- Bolting: Attaching the parts with screws and bolts
- Snap-fitting: Designing joints with interlocking features that snap together without the need for adhesives or fasteners
- Heat bonding: Melting the surfaces together by applying heat. Primarily used for thermoplastic materials
Mechanical bonding provides a strong bond and is ideal for parts that may need to be disassembled in the future. With mechanical bonding, additional design may be necessary for the 3D model, such as incorporating holes for bolts and designing snap-fit features.
When choosing a bonding method for your 3D-printed parts, consider the compatibility of the materials, the bond strength required, and the desired appearance of the final object. For more information on mechanical bonding, check out this Maker Hacks article.
Post-Gluing Process and Curing
Follow the proper post-gluing and curing process after applying glue to your 3D print. The curing process creates a strong bond between the printed parts.
First, ensure the object's surfaces are clean and free of dust, grease, or residue. Use a cotton swab and isopropyl alcohol to clean the surfaces thoroughly. Next, apply a thin and uniform layer of glue on both contacting surfaces. Be careful not to apply excess glue, as this can weaken the bond and create a disfigured appearance.
After applying the glue, press the parts together firmly and hold them in place for a few minutes to set the glue in place. Cyanoacrylate glues may require clamping or holding the parts together for an extended period to ensure proper adhesion.
While each type of glue requires a different curing process, variations in curing time across materials are common. For example, solvent glues and two-part epoxy glues take longer to cure than cyanoacrylate-based adhesives. Consult the manufacturer's recommended curing time for the chosen glue.
Here are some general curing times for various types of adhesives:
- Cyanoacrylate: 5 - 20 minutes
- Solvent glues: 20 - 60 minutes
- Two-part epoxy: 1 - 24 hours
These curing times may vary depending on humidity, temperature, and the glue brand. Always follow the manufacturer's guidelines for optimal results.
Once the curing process is complete, you can finish, paint, and display your 3D-printed object.
Health and Safety Precautions
Proper Ventilation
Proper ventilation is a must when working with 3D printers and glues. Most 3D printer fumes contain particles that can affect people with respiratory problems 1. Therefore, ensure your workspace is well-ventilated to avoid inhaling contaminated air. Consider investing in a heavy-duty air purifier to eliminate air contaminants while improving overall air quality.
Safe Handling of Glues
The choice of glue for 3D printing often depends on the type of filament and specific requirements of the printed objects. ABS slurry, PVC, and CPVC cement are other types of glues available for 3D printing. Here are some general safety guidelines for safely handling glues during 3D printing:
- Wear gloves: Always wear gloves when handling glues to protect your skin from potential allergies or irritation. Chemicals in glues can sometimes cause adverse reactions to your skin with direct contact.
- Avoid open flames: Keep flammable glues away from open flames or heat sources. Some glues are sensitive to heat and can combust.
- Follow manufacturers' instructions: Always adhere to the safety guidelines provided by the glue manufacturer. These recommendations provide specific information on the safe handling, storage, and disposal of their glue products.
- Keep out of reach of children: Store glues in a secure location that is not easily accessible to children. Some glues contain toxic components that are harmful if ingested or inhaled.
Safely handling glues promotes a safer working environment when working with glues for 3D printing projects.
Footnotes
Advanced Gluing Techniques
Gluing Large Parts
it's important to choose the appropriate adhesive when working with large 3D-printed parts, For PLA, PETG, and ABS parts, cyanoacrylate superglue is often recommended for its rapid curing and strong bonding properties. A two-part epoxy resin is recommended for large parts that require a flexible bond.
Follow these steps to ensure successful bonding:
- Surface preparation: Clean and sand the surfaces of both parts to be joined. Ensure the parts are free of oil, dust, and debris.
- Apply adhesive: Apply a thin and even adhesive layer to both surfaces.
- Alignment: Carefully align the parts and make sure they fit together as accurately as possible.
- Clamping: Use clamps or tape to keep the parts in place while the adhesive cures. Be careful not to apply excessive pressure, as this can cause deformities in the bond.
- Cure time: Cure the adhesive per the manufacturer's recommendations.
Gluing Uneven Surfaces
When uneven surfaces are present in the 3D object, use a glue adhesive to fill visible gaps. A two-part epoxy adhesive is an excellent material to fill gaps and provide a durable bond.
Tips for gluing uneven surfaces:
- Surface preparation: Clean and sand the surfaces to ensure proper bonding.
- Gap filling: If the gaps are too large, you may need a modeling clay or plastic shim filler material for voids. These materials also provide additional support for the adhesive.
- Layering: Apply the epoxy adhesive in layers to fill gaps. Allow each layer to partially cure before adding the next layer.
Cyanoacrylate superglue is great for smaller parts due to its rapid curing time. However, it might not be as effective in filling larger gaps as two-part epoxy adhesives.
Following these advanced gluing techniques ensures a strong bond between various types of 3D printed parts, regardless of their size or surface characteristics.
Recommended Glues for Specific 3D Printing Projects
Each filament type requires an appropriate bonding agent. Here are some of the great options for specific 3D printing materials:
- PLA: For PLA filaments, the best option is Layerneer Bed Weld. Its unique formula provides excellent adhesion and reduced warping. Another reliable choice for PLA printing is Elmer's Disappearing Purple Glue Stick, which is budget-friendly and offers good adhesion.
- ABS and PETG: When printing with ABS or PETG filaments, a stronger adhesive like Gorilla Super Glue is a good choice. This super-strong adhesive forms robust bonds and keeps parts securely in place. If you prefer an easy-to-use option, try 3D Gloop!. This multi-purpose glue bonds well with ABS and PETG and has high durability.
- Large or complex prints: A flexible adhesive like Silicone Glue is advantageous when working on large or complicated 3D prints. It provides a strong bond when applied in thicker layers, making it an effective solution for bonding larger parts.
To achieve the best results, matching the correct adhesive to the specific 3D printing project is a must. With options like Gorilla Super Glue, 3D Gloop!, Layerneer Bed Weld, and many others, you'll find the perfect adhesive to create successful and durable 3D prints.
