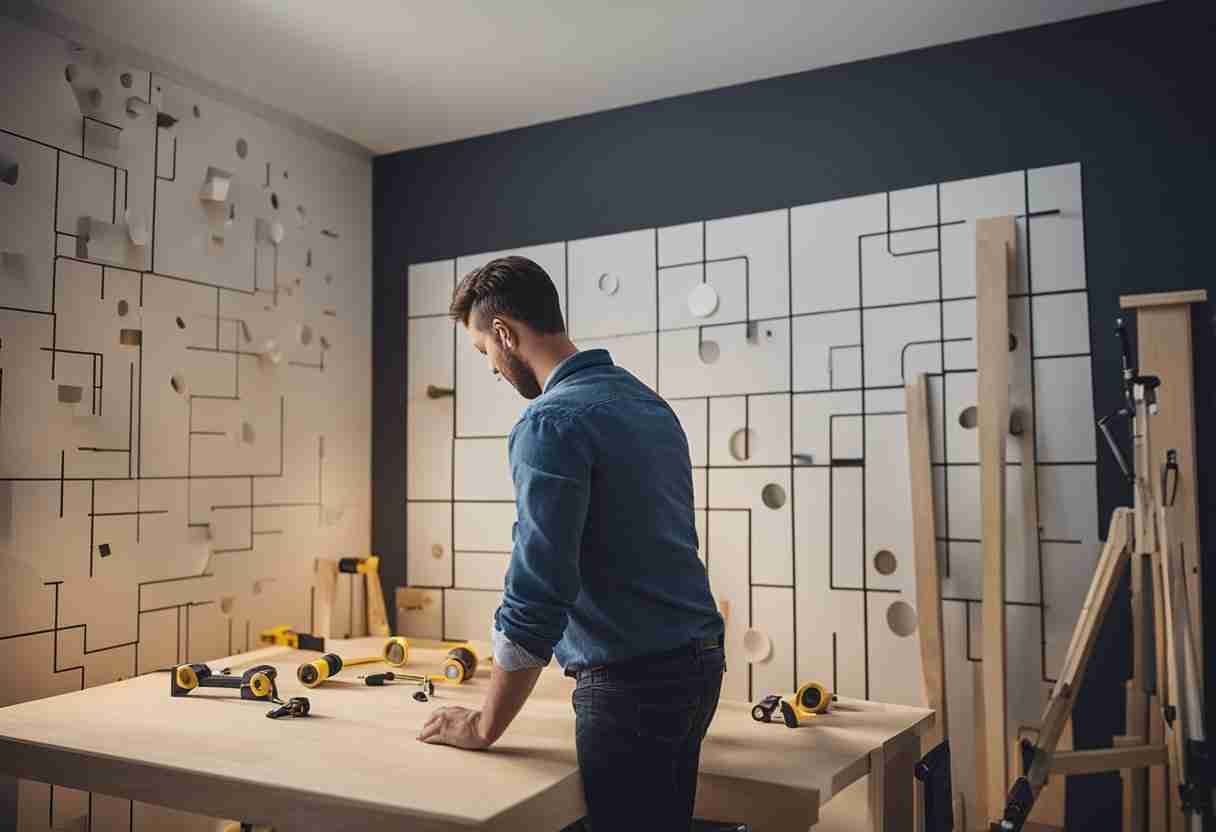
3D walls have become popular for homeowners and interior designers looking to add a touch of uniqueness and modernity to their spaces. These stunning wall panels can transform any room into an aesthetically pleasing space. This article will explore what 3D walls are and how you can create stunning 3D walls with ease and creativity.

One of the most popular methods for creating a 3D wall involves panels. 3D walls are panels with intricate designs, patterns, or textures that create a three-dimensional effect. These panels can be made from wood, plastic, metal, or ceramic. Adding depth and dimension to a flat surface, 3D panels create visual interest and make a bold statement in any room.
Despite their intricate appearance, 3D walls are surprisingly easy to install, making them ideal for a DIY project. You can transform your space without needing professional assistance with the right tools and materials. Whether you prefer a sleek and minimalistic look or a vibrant statement, there's a 3D wall panel that can complement your aesthetic vision.
Planning Your 3D Wall

Choosing the Right Panels
When planning a 3D accent wall, explore the range of 3D wall panels available. Popular materials for 3D wall panels are wood, PVC, and recycled cardboard. Choose a panel that complements your interior theme.
Design and Layout Ideas
Before installing your 3D wall panels, take some time to view several design and layout ideas. Determine the ideal location for your 3D wall. Assess the space's lighting conditions, room layout, and focal points. You can choose a subtle design with a single-color finish or a bolder design by combining different colors and patterns. Regardless of which option you choose, remember that your wall treatment should enhance the room's overall atmosphere. Here are a few 3D pattern categories to get you started:
- Monochromatic Patterns: Uniform colors and patterns to create a clean, cohesive look. This design is ideal for minimalist or modern interiors.
- Geometric Designs: Geometric designs can enhance the visual appeal of a room with their diverse shapes and angles.
- Nature-Inspired: Panels with organic patterns, such as leaves or waves, can complement a nature-themed room or create a sense of tranquility in the space.
- Custom Designs: Combine different panel styles and colors to create a unique accent wall that reflects your taste and speaks to your creativity.
Measuring and Preparing the Wall Surface
Clean the wall thoroughly to ensure a smooth surface for better adhesion. Measure the wall's dimensions to calculate how many panels you will need. Don't forget to account for any irregularities in the wall, such as light switches, outlets, or windows.
- Clean: Remove dirt, dust, or grime from the wall's surface.
- Repair: Fix any cracks or holes before proceeding, as these may affect the installation process.
- Prime: If you plan to paint the panels, prime the wall surface beforehand to ensure proper adhesion.
With proper planning and the right 3D wall panels, you can create an eye-catching accent wall in your living room, dining room, or any other space in your home. Follow the tips above to achieve a successful 3D wall treatment.
Installation Process
Tools and Materials Needed
Gather the necessary tools and materials for your DIY project. Standard tools for a 3D wall panel project:
- Wall panels (3D panels or geometric wood art)
- MDF (Medium-Density Fiberboard) or other suitable materials for the base
- Countersink drill bit
- Painter's tape
- Batten or thin strips of wood
- Zoffany Smoked Pearl Eggshell paint or other desired paint colors
- Safety goggles, gloves, and a mask
Step-by-Step Installation Guide
- Prepare the Wall: Clean the surface of the wall before proceeding. The wall should be smooth, dry, and free of any imperfections. Sand and fill rough areas as needed. Also, prime and paint the wall if desired.
- Measure and Cut Panels: Measure the wall and calculate the needed panels.
Trim the panels to match the size and shape of the wall using a utility knife. Remember, you can arrange the panels creatively to create a distinctive design. - Apply Adhesive: Apply the adhesive to the back of the panels following the manufacturer's instructions. This ensures easy installation and a strong bond with the wall surface.
- Position and Secure Panels: Begin installing the panels at one corner of the wall using the level line as a guide. Press each panel firmly onto the wall and ensure a secure fit. Use the countersink drill bit to pre-drill holes for additional fasteners.
- Add finishing touches: Apply painter's tape along the edges of the panels to create crisp paint lines. Paint the panels with your chosen colors, using smooth and even strokes. Allow the paint to dry completely before removing the tape.
- Repeat Process: Continue installing the panels, moving from one corner to the next. Check for alignment and level at each step to ensure a professional-looking result.
Ensuring a Seamless Look
Use sandpaper to fill seams and smooth rough edges for a seamless finish. If you wish to improve the appearance of the surface, apply paint over the seams. With careful attention to detail, the installation process for 3D wall panels can be accomplished with impressive results.
Finishing Touches
Trimming and Filling Small Gaps
Filling small gaps is often necessary when working on a 3D Wall DIY project. To do this, carefully measure any tight spaces in your wood panels or foam boards and transfer the measurements to the materials. Use a sharp knife or miter saw to make accurate cuts in the wall panel. Fit the pieces into their proper positions on the accent wall.
After installing the panels, inspect the wall for small gaps between the pieces. Fill these gaps with a paintable filler. Sand the surface once the filler is dry to create a smooth finish. This technique is the preferred method when installing 3D wall panels.
Adding Accents and Decor
An accent wall can serve as a beautiful focal point in any room. To further enhance your 3D Wall DIY project, consider adding accents and decor that complement the wall design. Some ideas to consider:
- Artwork: Complement the patterns of your wall with unique paintings, photographs, or sculptures.
- Lighting: Properly placed lighting highlights the 3D characteristics of your wall and creates eye-catching shadows.
- Furniture: Choose pieces that harmonize with your wall decor to create a cohesive look.
A beautifully designed accent wall can greatly enhance the overall look of a room. By filling gaps and adding accents, you can create a stunning feature wall that showcases your home's style.
Maintenance and Upkeep
Taking care of your 3D wall panels is necessary to maintain their aesthetic appeal. By following a few simple steps, you can maintain the appearance and quality of your 3D wall panels for an extended period.
Cleaning 3D wall panels is a straightforward process. Start by dusting the flat surfaces using a soft microfiber cloth or a feather duster. Gently remove dust and debris from the surface of the panels. This is crucial, as accumulating dirt can affect the panel's appearance.
Prepare a cleaning solution by mixing a few drops of mild dish soap with warm water for a more thorough cleaning. Use a soft sponge or cloth dampened with this solution to wipe the panels' surface gently. Avoid harsh chemicals or abrasive materials, as they can potentially damage the wall surface.
One of the reasons 3D wall panels are a great product is their adaptability to different environments. By applying a waterproofing material, you can enhance their water-resistant features, especially in areas with high moisture levels. This step helps to protect the panels from potential water damage and extend their lifespan. For guidance on waterproofing your 3D wall panels, check out The Essential Guide to Waterproofing Your 3D Wall Panels.
Here are some quick maintenance tips to follow:
- Regularly dust and clean the panels to prevent dirt build-up
- Use a mild cleaning solution to avoid damaging the panels
- Waterproof your 3D wall panels as needed for additional protection
In summary, remember to start by gathering the necessary materials, including a 3D printer and filament of your choice. Take the time to explore and experiment with different designs. Once you've chosen your design, use the appropriate software to prepare your file for printing. Don't forget to measure the placement of your 3D wall to ensure it fits seamlessly with your existing decor. When it comes to 3D wall panels, be patient. You can become proficient in adding 3D wall decor to your home or office with practice.
