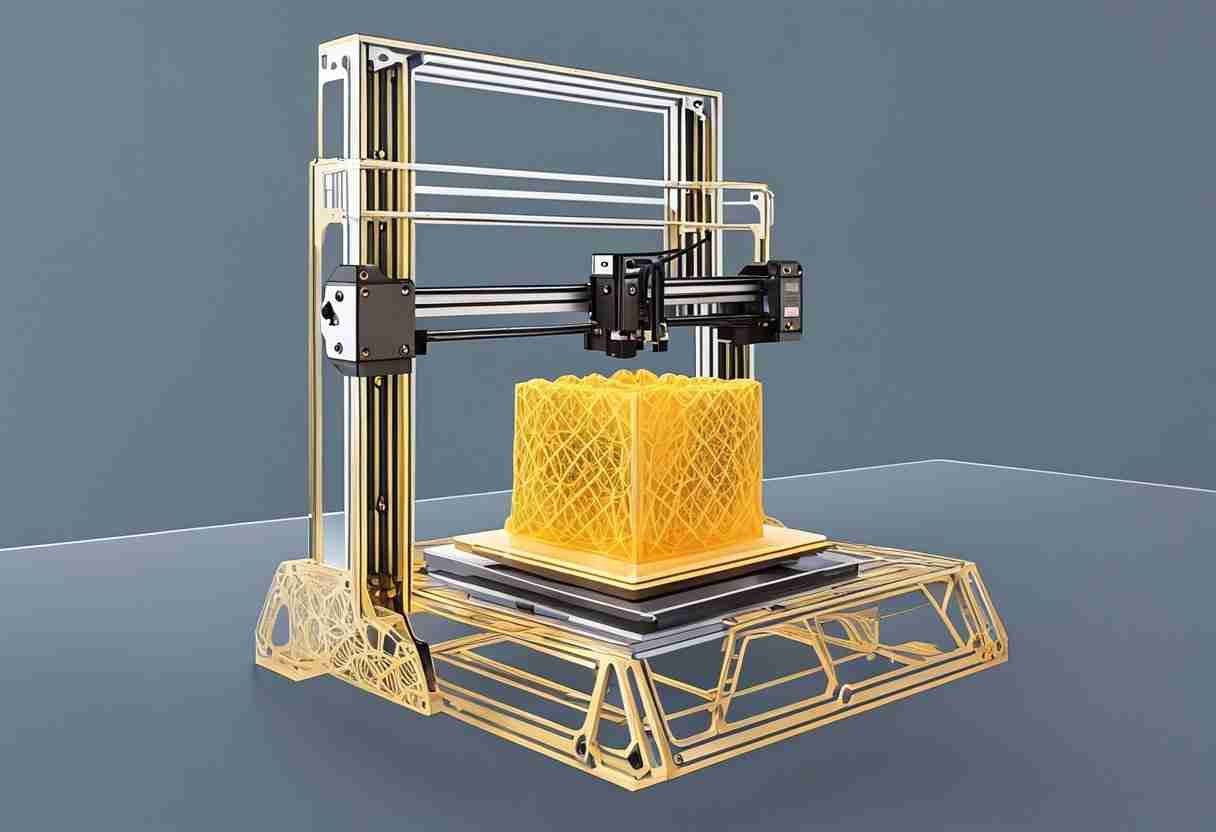
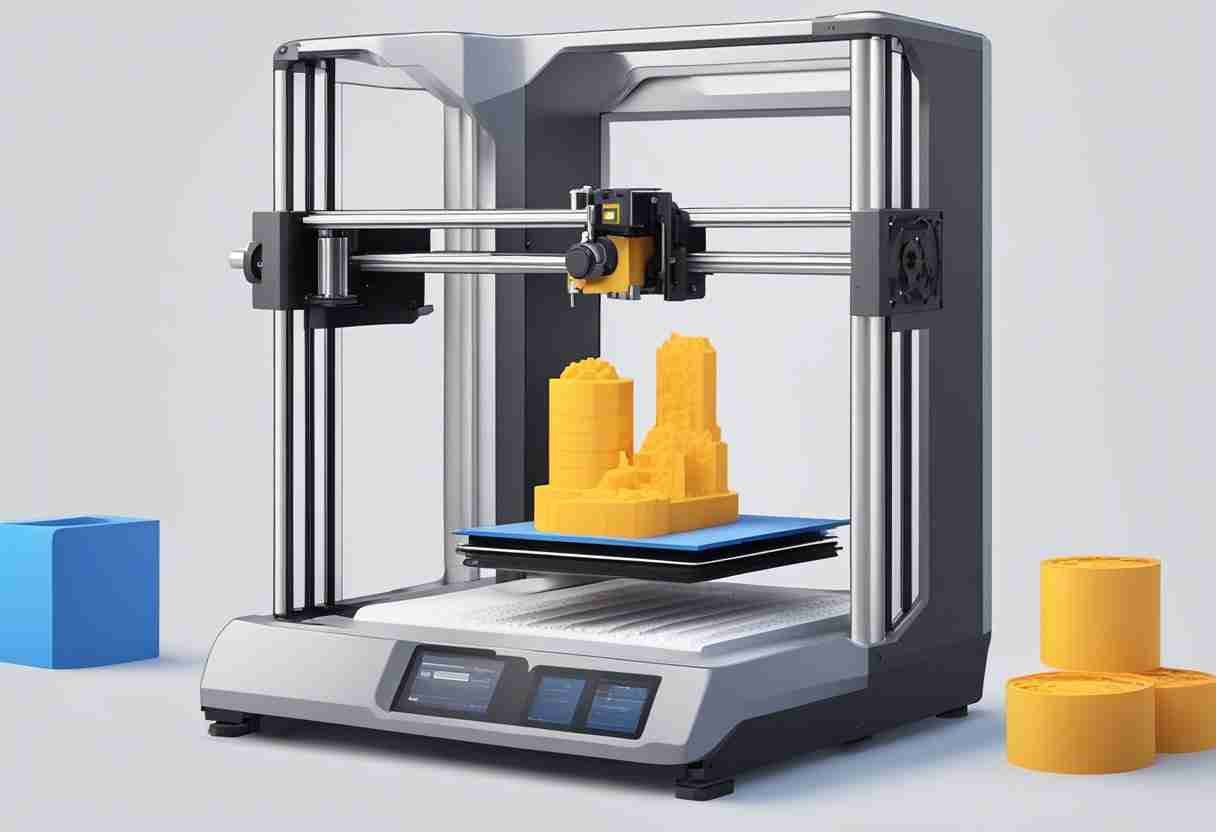
3D printing has revolutionized how we create objects, with endless possibilities for customization. The infill pattern is one of the most critical parameters when configuring a 3D print job. Infill is the internal structure that strengthens and supports the printed object. Choosing the correct infill pattern can significantly impact the final print's characteristics, such as strength, flexibility, print time, and material consumption.

Many infill patterns are available to choose from, depending on your slicer software settings and the specific requirements of your 3D print. Factors like the type of part being printed, its application, and desired material consumption influence which infill pattern will be best suited for your project. It's essential to understand various infill options and the situations in which they excel to make an informed decision.
Key Takeaways
- Evaluating the best infill pattern depends on factors like part application and material consumption
- Infill settings can be configured using slicer software for optimal print results
- Analyzing the available infill options and considering best practices ensures a successful 3D print
Basics of Infill Patterns
What is Infill?
Infill is the internal supporting structure of a 3D-printed object. It fills the space between the outer walls of the print, providing support and determining the overall strength and weight of the finished object. Choosing the best infill pattern depends on the specific requirements of the print, such as its intended use, strength, flexibility, and material usage.
Types of Infill Patterns
There are various infill patterns available, each with its advantages and disadvantages. Below is a brief description and comparison of some common types:
- Grid: This pattern consists of intersecting lines running perpendicular to each other, forming a simple grid. It is a popular choice for quick prototyping and provides a balanced combination of strength and material usage. Learn more about grid
- Rectilinear: Rectilinear infill is similar to grid but has a zig-zag pattern for print paths. It is among the most basic infill types and is commonly used in many applications. See examples of rectilinear infill
- Triangular: This pattern consists of interlocking triangles, providing added strength while using less material than the traditional grid pattern. Triangular infill is particularly popular for structural parts where strength is essential. Explore triangular infill
- Honeycomb: As the name suggests, this pattern resembles a honeycomb structure and offers a high strength-to-weight ratio. It is an ideal option for applications where strength and reduced weight are important factors.
These are just a few examples of the different types of infill patterns that can be utilized in 3D printing. Select an infill type that best suits the specific requirements of your project. Remember to consider factors such as strength, flexibility, and material usage when deciding which infill pattern to use for your project.
Analyzing Best Infill Patterns

Distinguishing Between Patterns
When it comes to 3D printing, choosing the correct infill pattern significantly impacts the object's strength, weight, and printing time. There are various infill patterns available, each with its unique characteristics.
- Grid Pattern: This simple pattern creates a grid-like structure, providing strength in all directions. It is optimal for objects requiring uniform strength distribution.
- Cubic Infill Pattern: This pattern offers strength in all three dimensions by creating cube-shaped structures. It is preferable for objects that will experience forces from different angles.
- Gyroid Pattern: The gyroid pattern is a unique, three-dimensional, and continuous pattern that, when used as infill, provides objects with high strength and low weight.
- Cross Pattern: This pattern is ideal for flexible 3D prints with crossing lines that create a cross grid. It is less robust than other patterns but provides good flexibility.
- Concentric Pattern: This pattern follows the shape of the object's outer walls, creating circles or rings within the part. It is ideal for aesthetic purposes and not recommended for functional parts that require strength.
- Triangular Infill: The triangular infill pattern creates triangles within the part, offering high strength, especially in compression.
Criteria for Ranking Patterns
When ranking infill patterns, various factors influence their effectiveness in different scenarios. Here are some criteria to consider:
- Strength: The ability of the pattern to withstand forces such as compression, tension, and shear. A strong infill pattern like the gyroid or triangle pattern is preferred for functional parts.
- Weight: The lower the weight, the less material is used, and the faster the print. The gyroid pattern offers high strength with less material compared to other patterns.
- Flexibility: Patterns like the cross pattern have crossing lines that create a flexible grid suitable for objects that require bending or flexing.
- Print Time: Complex patterns with more surface area require longer printing times than simpler patterns like the grid or lines pattern.
- Aesthetics: Some patterns, like the concentric or zig-zag pattern, create visually appealing prints due to their geometric shapes.
- Processing Load: Complex patterns like the octet or gyroid infill patterns are computationally heavy, making the slicing process more intensive.
When selecting infill patterns for 3D-printed objects, it is essential to consider these factors to achieve the ideal balance between strength, weight, flexibility, and printing time for your project.
Considerations for Choosing the Right Infill

When selecting the best infill pattern for a 3D printing project, one should consider the various elements of 3D printing to ensure the desired outcome of the print. This section covers primary considerations, including Part Functionality and Strength and Material and Time Optimization.
Part Functionality and Strength
Strength varies across different infill patterns. The honeycomb pattern can be a good choice for functional parts requiring high strength. While it may require more printing time, it offers superior tensile strength compared to other patterns. The cubic subdivision and gyroid are also suitable alternatives for maximum strength.
Higher infill density directly corresponds to more substantial prints. However, increasing the density will also result in more material usage and longer printing time. The material type and strength requirements should determine your print's best layer height, infill pattern, and density. For flexible parts, using a grid infill pattern could be ideal.
Material and Time Optimization
It's essential to optimize material usage and print speed when working on 3D prints. Patterns such as rectilinear infills and parallel lines may offer faster print times due to their straight lines but might not be as strong as other patterns. By considering the purpose of the 3D-printed part, it is possible to find a balance between strength, material usage, and print time.
Typically, decorative objects and non-functional parts won't need high structural integrity, and therefore, a lower infill density and less complex pattern could be a better choice. Reducing the amount of material used and the density of the infill allows for faster printing times and efficient use of materials.
In conclusion, understanding the part's primary purpose, the desired strength, and the amount of material and time available for printing will help you choose the correct infill pattern for a successful 3D printing project.
Software and Tools for Infill Settings
One of the critical aspects of 3D printing is determining the best infill pattern for a given project. Slicer software, such as Cura, is an excellent tool for managing infill settings. Slicer software takes 3D models and converts them into G-code, which provides instructions for the 3D printer. Some factors to consider while selecting a slicer software include compatibility, user interface, and available features.
- Compatibility: Ensure that the slicing software is compatible with your 3D printer. Most slicers support various printer models.
- User Interface: Choose a slicer software with an intuitive interface that is easy to navigate and understand.
- Features: Check the slicer software's available features for infill patterns, support structures, and print speed options.
Be sure to experiment with different infill patterns, densities, and print speeds to find the best option that balances high quality and low filament consumption for the specific project.
Handling Infill Options on Different Software Applications
Different slicer software provides various infill patterns and settings to choose from. Here are a few tips for handling infill options in popular slicing software:
- CURA: In Cura, access the infill settings by clicking the "Custom" tab on the right side of the screen. You can adjust the infill density as a percentage and choose from a dropdown menu of infill patterns.
- Slic3r: In Slic3r, click the "Print Settings" tab, then the "Infill" submenu to access infill options. Select the infill pattern from a dropdown list and adjust the infill density as a percentage.
- Simplify3D: Access the infill settings in Simplify3D by clicking "Edit Process Settings." In the "Infill" tab, choose the infill pattern from a dropdown menu and adjust the infill percentage to your desired value.
- PrusaSlicer: In PrusaSlicer, navigate to the "Print Settings" tab and click on the "Infill" section to access infill options. Choose the desired infill pattern and set the infill density as a percentage.
Before proceeding with a large print job, remember to test different infill settings on a small-scale project. This experimentation will help ensure that the selected infill pattern, print speed, and density result in an efficient and high-quality print.
Best Practices and Recommendations
For Functional Parts
To achieve the most durable infill pattern for functional parts, considering factors such as part strength and the printing process is essential. The Gyroid infill pattern is popular due to its high speed and strength. Another durable pattern is the triangular infill. With its grid and crossover style, it offers excellent strength and durability. Flexible materials require different patterns; a Cross pattern is suitable for flexible parts, allowing bending and twisting. Always remember to adjust the number of shells and percentage of infill based on the specific needs of the part.
For Decorative Objects
Decorative objects prioritize aesthetics over strength, so a concentric infill pattern is recommended for these applications. Concentric patterns create smooth circular layers on the top surface, which add visual appeal to the 3D-printed part. The All3DP Cura Guide suggests using different infill patterns based on your 3D-print's purpose. Keep the outer walls and bottom layers in mind, and consider adjusting the infill density to save on filament while maintaining good quality.
Experts' Advice
CNC Kitchen provides helpful advice to the 3D printing community. They provide practical solutions for common 3D printing issues.
In conclusion, adjusting the infill pattern, percentage, and number of shells is vital for producing successful 3D prints. Select appropriate infill patterns for functional and decorative objects and consult expert advice to achieve the best results.
