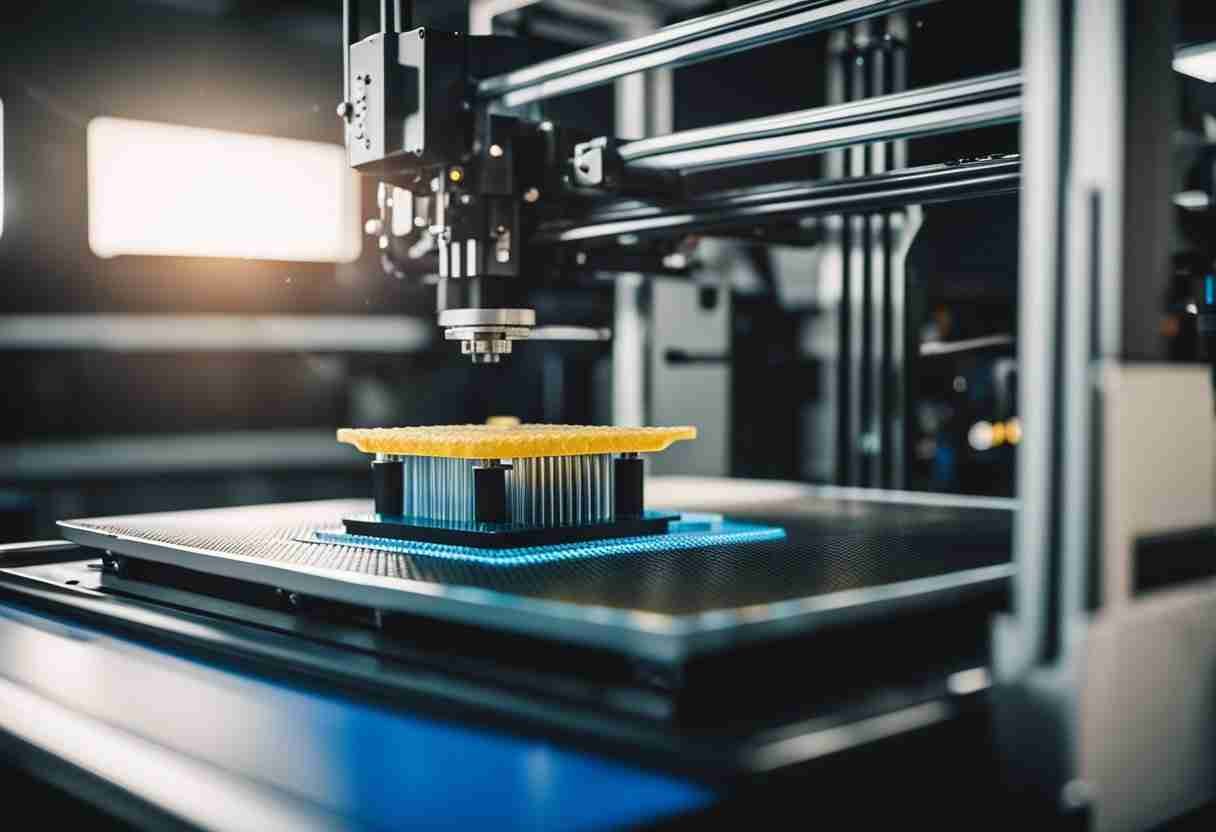
In 3D printing, a raft serves as a foundation for 3D prints. A raft is a horizontal latticework of filament that lies beneath the printed object, acting as a buffer between the printed object and the build platform. The raft support structure is composed of ABS filament or other materials. This additional layer helps prevent warping and improves overall print quality. In 3D printing, rafts are considered good adhesion assistants for objects with small footprints or filaments prone to poor bed adhesion. This article will explore the benefits of rafts, common adhesion problems that may occur during printing, and practical solutions to overcome these issues.

The decision to use a raft in 3D printing depends on the printing material, object geometry, and the specific 3D printer. Understanding how to adjust raft settings properly is a skill developed through practice. Compared to other adhesion techniques, such as skirts and brims, rafts provide a solid base for the print while keeping the object separate from the bed.
Key Takeaways
- A raft is a horizontal latticework of filament used to improve bed adhesion in 3D printing.
- Implementing a raft depends on the printing material and object geometry.
- Rafts ensure a strong foundation and easier object removal than skirts and brims.
Understanding the Basics of 3D Printing Raft
A raft is a tool designed to improve bed adhesion during the printing process. It is a secondary foundation for the printed object to facilitate a robust and stable connection to the print bed. The raft consists of a few layers with a specific amount of infill, extending beneath the 3D model to enhance adhesion1.
The printing process begins with a 3D slicer calculating the required raft dimensions according to the 3D model's specifications. A larger surface area equates to a more robust adhesion and improved stability. First, the raft is printed, followed by the actual object, layer by layer2.
Rafts are particularly useful in resin-based 3D printing, where the printing technology cures resin layer by layer. The build plate moves upward after curing each layer, separating from the vat bottom and allowing the subsequent layer to be cured3.
Consider the following when deciding whether to use a 3D printing raft:
- Print bed adhesion: Rafts are advantageous when working with materials prone to warping or struggling to adhere to the print bed.
- Print complexity: Objects with intricate details or complex geometry benefit from the added stability rafts provide.
- Quality of the print bed: A raft can help compensate for minor irregularities on the print bed's surface.
Keep in mind that not all 3D prints require a raft. Certain situations dictate the need for a 3D printing raft. Used appropriately, a 3D printing raft can significantly enhance the quality of a 3D print4.
Footnotes
Benefits of Using a Raft in 3D Printing

A raft created in 3D printing is a layer of material that is printed below the object. It provides better adhesion between the print and the build plate. Utilizing a raft is a great way to ensure a stable and reliable foundation for the print. Let's explore the advantages of using a raft in 3D printing.
- Larger Surface Area: A raft increases the surface area in contact with the build plate. The increased surface helps the print stick to the bed and supports parts with small contact surfaces or complex geometries. Doing so reduces the likelihood of the object detaching from the build plate during printing1.
- Smooth Surface: A raft helps reduce warping, establishing a more even base for the print. This is particularly helpful for objects that require a flat and smooth surface for proper functionality2.
- Greater Stability: In addition to better adhesion, a raft also increases the stability of the print. This is especially useful for customized, intricate designs that may struggle with inadequate support structures3 .
- Good Bed Adhesion: A raft improves bed adhesion, even with a poorly or unevenly calibrated build plate. In short, rafts help to reduce print failures, saving time and material in the long run4.
Using a raft in 3D printing offers multiple benefits, such as a larger surface area, smooth surface, greater stability, and good bed adhesion. This technique benefits prints that require better support structures or have a higher risk of warping.
Footnotes
Raft Application

In 3D printing, a raft is a temporary base layer that gets printed underneath the object. It is meant to provide stability and adhesion to the build platform. Rafts are especially useful when dealing with materials like ABS filament, which is prone to warping.
The primary function of a raft is to ensure that the first layer of the print sticks properly to the build platform. This is achieved by printing a few layers with a specific amount of infill and protrusion under the object, giving it better adhesion. The larger the raft, the stronger the adhesion it provides. When the print job is complete, a raft can be easily separated from the printed part.
Here's a breakdown of the steps involved in implementing a 3D printing raft:
- The first few layers, typically 3 to 5, form the base of the raft. These layers have a dense infill, providing a stable foundation for the upcoming layers.
- A single layer with a lower infill density is printed on top of the base layers. This layer helps to remove the raft from the build platform more easily.
- Finally, the actual object is printed on top of this single layer. The separation distance between the top of the raft and the printed part ensures that the object and raft are not overly attached and can be separated easily.
A raft is not always necessary, but it can be especially helpful when printing objects with small footprints, poor bed adhesion, or where ABS filament is used. It is also helpful in preventing curling or warping, particularly at the object's edges.
As a rule of thumb, a raft should be used when working with complex or large prints that require improved adhesion. However, it may not be required for small and straightforward prints. Rafts may also be used with other adhesion assistants, like hairspray, glue, or Kapton tape.
Adjusting Raft Settings for Optimal Results
Adjust the slicer settings for optimal results when using a raft in 3D printing. The ideal settings will ensure proper adhesion, reduce print time, and improve the overall quality of the print. This section will discuss some key raft settings and provide recommendations to achieve the best results.
First, configure the number of raft layers. Increasing the number of layers provides better adhesion, especially at the beginning of a print. However, too many layers will increase print time. Experiment with layer settings to find the proper adhesion and print time balance. A good starting point is to start the Raft Top Layer Thickness to 0.12-0.2 mm.
Next, adjust the raft print speed. Slower print speeds improve adhesion and print quality, while faster speeds reduce print time. Find a good balance between speed and quality. As a rule of thumb, use the default setting in your slicer first and adjust it as necessary based on your observations of the print progress.
Another important factor is the raft air gap settings. Air gap settings are the distance between the raft and the printed object. As mentioned in this guide, adjusting this value can lead to better adhesion during printing. Incrementally modify the air gap settings and test print models to find the ideal setting.
Adjust this setting in small increments and test your prints until you find the perfect value, as suggested in this guide.
To sum up, adjusting the raft settings in 3D printing is an iterative process that involves tweaking the number of layers, print speed, air gap settings, and the distance between the raft and the model. By carefully adjusting these settings, you optimize the print quality while minimizing print time and material usage. Always remember the ideal settings may vary depending on your specific 3D printer, material, and the complexity of the printed object.
Dealing with Common Raft-Related Issues
It is important to note that rafts can sometimes cause issues that must be addressed. This section will discuss common raft-related problems and the actions 3D printer users can take to resolve these issues.
Poor bed adhesion is one of the most common issues encountered when using a raft. To mitigate this, ensure the print bed is leveled correctly. Consider increasing the bed temperature, especially when printing with materials such as ABS. Additionally, applying adhesive products or adjusting the raft air gap can help improve bed adhesion.
Another common challenge faced by users is print warping. To reduce warping, maintain an optimal ambient temperature, ideally below 28°C. Excessive room temperature can cause overheating of the extruded material, resulting in layers bonding too heavily. Proper platform calibration is also necessary to prevent warping.
Regarding material consumption, using a raft generally increases the amount of material used in a print. However, the benefits of improved bed adhesion and reduced warping far outweigh the material consumption concerns. Carefully monitor and adjust settings to optimize the raft size and thickness to minimize material waste.
Dealing with raft-related issues requires understanding the common problems and their solutions. Bed adhesion settings, suitable ambient temperature, and platform calibration must be addressed during printing.
Comparing Rafts, Skirts, and Brims in 3D Printing
Rafts, skirts, and brims are three standard techniques to address adhesion challenges, each offering different advantages and disadvantages.
Rafts provide a solid foundation for prints, consisting of a layer of filament that goes under the entire print, ensuring proper adhesion to the bed. They are particularly useful when printing small parts with a small base. Rafts help prevent warping and increase stability. Additionally, rafts use more filament and take longer to print than skirts or brims; however, they offer the strongest support and adhesion for materials like ABS. To improve print quality, configure the raft top layers correctly. More about rafts
Skirts are a single-layer outline printed around the print's perimeter. Their primary purpose is to prime the nozzle for proper extrusion before the main print begins. While skirts generally don't provide physical support or adhesion, they help to identify potential issues with bed leveling or nozzle clogging early on. Skirts are the most straightforward support structures to remove, making them popular for 3D printing tasks. Learn more about skirts.
Brims are similar to skirts but are connected directly to the print edges, forming a thin, flat layer that supports better bed adhesion. Adjusting the brim width or line count helps control the adhesion level. Brims are most suitable when prints require moderate support without a full raft. They are easier to remove than rafts but may leave marks on the print's surface. Comparison of brims and other techniques
To sum it up, users should consider the 3D print material, part size, and required support when choosing between rafts, skirts, and brims:
Technique | Support & Adhesion | Print Removal | Material Usage | Applications |
|---|---|---|---|---|
Raft | High | More difficult | More filament | Small footprint or materials prone to warping |
Skirt | None | Easiest | Less filament | Nozzle priming & bed adhesion diagnosis |
Brim | Moderate | Moderate | Less filament | Parts requiring some additional support & adhesion |
